
Free drawing tutorial by the Storyboarding, Drawing and Animation Instructor at Visual College of Art and Design of Vancouver (VCAD) Glen Kennedy.
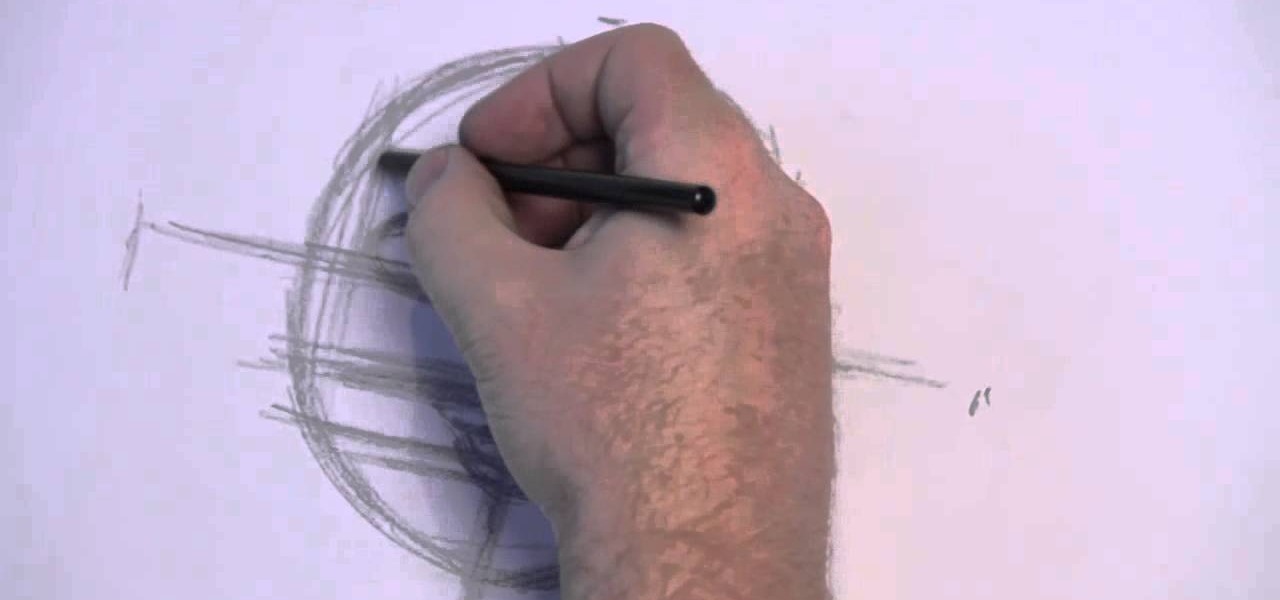
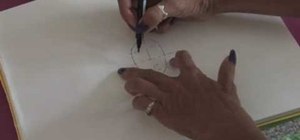
Step 1: In This Tutorial We Will Create a New Semi Realistic Character. Why Semi Realistic? Just Because You Have to Make Your Own Characters if You Want to Make Money in the Commercial Art Business. We Will Start with the Basics of the Realistic Drawing -- Two Lines and an Oval. Our Character Will Have Over Exaggerated Eyes So That We Get More of the Expression at the End of the Drawing.
We Begin with the Proportions to Figure Out Where the Character's Eyes, Nose, and Mouth Will Be. Then We Proceed with the Shape of an Eye and Switch to the Second Eye. The Center Point Between Two Eyes Is About of the Size of the Eye. We Move on to the Eyebrows to Establish the Facial Expression of the Character. After That Is Done, We Move on to the Nose. It Will Be in the Shape of a Tie. We Line Up Nostrils with the Mouth. In Case of the Young People, Mouth and Nose Areas Are Smaller, That Is Why Eyes Should Be Bigger.
in Order to Get the Feel of the Character, We Continue with the Pupils and Keep Working on the Shapes of the Mouth, Eyes, and Nose. We Should Use Soft Pencil to Get Loose Shapes During the Development of the Character. That Allows Us to Do Lots of Drawings Inside of the Character and We Can Go Back at Any Time. Marker or Anything Else Can Be Used Afterwards When We Have Gotten What We Wanted to in Terms of the Expression and Look of the Character.
We Move on with the Hair Line and Chin Line. When That Is Done We Will Exaggerate the Highlights of the Pupils.
Step 2: Both Eyes of the Character Should Point to One Direction So That They Don't Look as if They're Floating. After Pupils Are Finished We Contour the Top Line of the Eye and Finish Up with the Lower Line. Next Is the Eyebrow. We Switch to the Other Side of the Face, Which Should Be Slightly Different. Please, Remember That Human Face Is Not Symmetric. Then We Move to the Nose, Mouth, and Nostrils. One Always Should Remember That Drawing a Mouth Is Always a Mixture of Round Lines and Straight Edges.
Do Not Stay on One Part of the Drawing for Too Long Because You Should Work on the Overall Feel of the Drawing. Eyes Give the Expression to the Character; Therefore, It Is Very Important to Work Them Out in the Best Possible Ways So That You Are Satisfied with the Results.
Next Step Is the Structure of the Face and Head So We Can Figure Out Where to Place the Hair Line, Cheeks and Chin. Lock the Shapes You Are Satisfied with.
Now We Can Erase the Construction Lines to Start Adding the Creative Elements to Take the Drawing to Another Level.
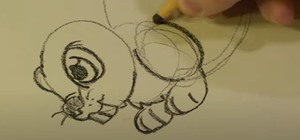
Step 3: With the Thicker Pencil We Start Drawing Hair and Adding Details to the Eyes, Nose, Mouth and Face. The Reason for That Is to Get the Feel of the Lines That Have to Be Carved In. Step Back and Take a Look at What You Have and What Has to Be Changed. Add Hair to Get the Look.
in the Next Step, You Can Use Markers, Pencils, or Pens. It Doesn't Really Matter. The Only Thing That Matters Is the Result.
Add Life to the Character; Don't Change Shapes Because It Is Already Too Late. Shaping Has to Be Done Before Carving.
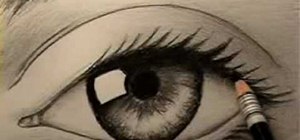
We Move on with Block Shading. Use Your Fingers or Eraser. Block Shading for the Hair and Find the Neck Line. Add Eyelashes and Details to the Eyes.
Get a Darker Marker and Start Highlighting the Pupils of the Eyes.
Step 4: Add Details to Get the Connection Between Expression and Personality of the Character.
It Is a Good Idea to Stop from Time to Time and Take a Look at What You Have. Get a Darker Marker and Add Darker Lines to You Your Drawing. Pay Attention to the Quality of the Lines. Block the Shading.
Go Back to the Eyes and Work More on Their Details Because They Determine the Emotion and Feel of the Character. Look for the Soft Lines and Make Them Darker to Get the Character's Personality.
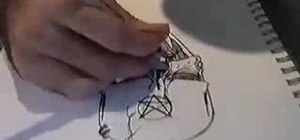
Step 5: Use the marker to work on the character's hair to add some extra life. Different shading techniques can be applied -- crosshatching, loose lines or anything else you are comfortable with.
Go over again and enhance the character's details. Use different lines and shading. Finish up with the eyes and eyelashes.
The drawing is finally finished. What we have here is a little girl looking up.
Just updated your iPhone? You'll find new emoji, enhanced security, podcast transcripts, Apple Cash virtual numbers, and other useful features. There are even new additions hidden within Safari. Find out what's new and changed on your iPhone with the iOS 17.4 update.


Be the First to Comment
Share Your Thoughts