


how to
How to Draw the Sitting Hindu God Ganesha, Step by Step

how to
How to Make Homemade Sidewalk Chalk to Graffiti the Streets With
how to
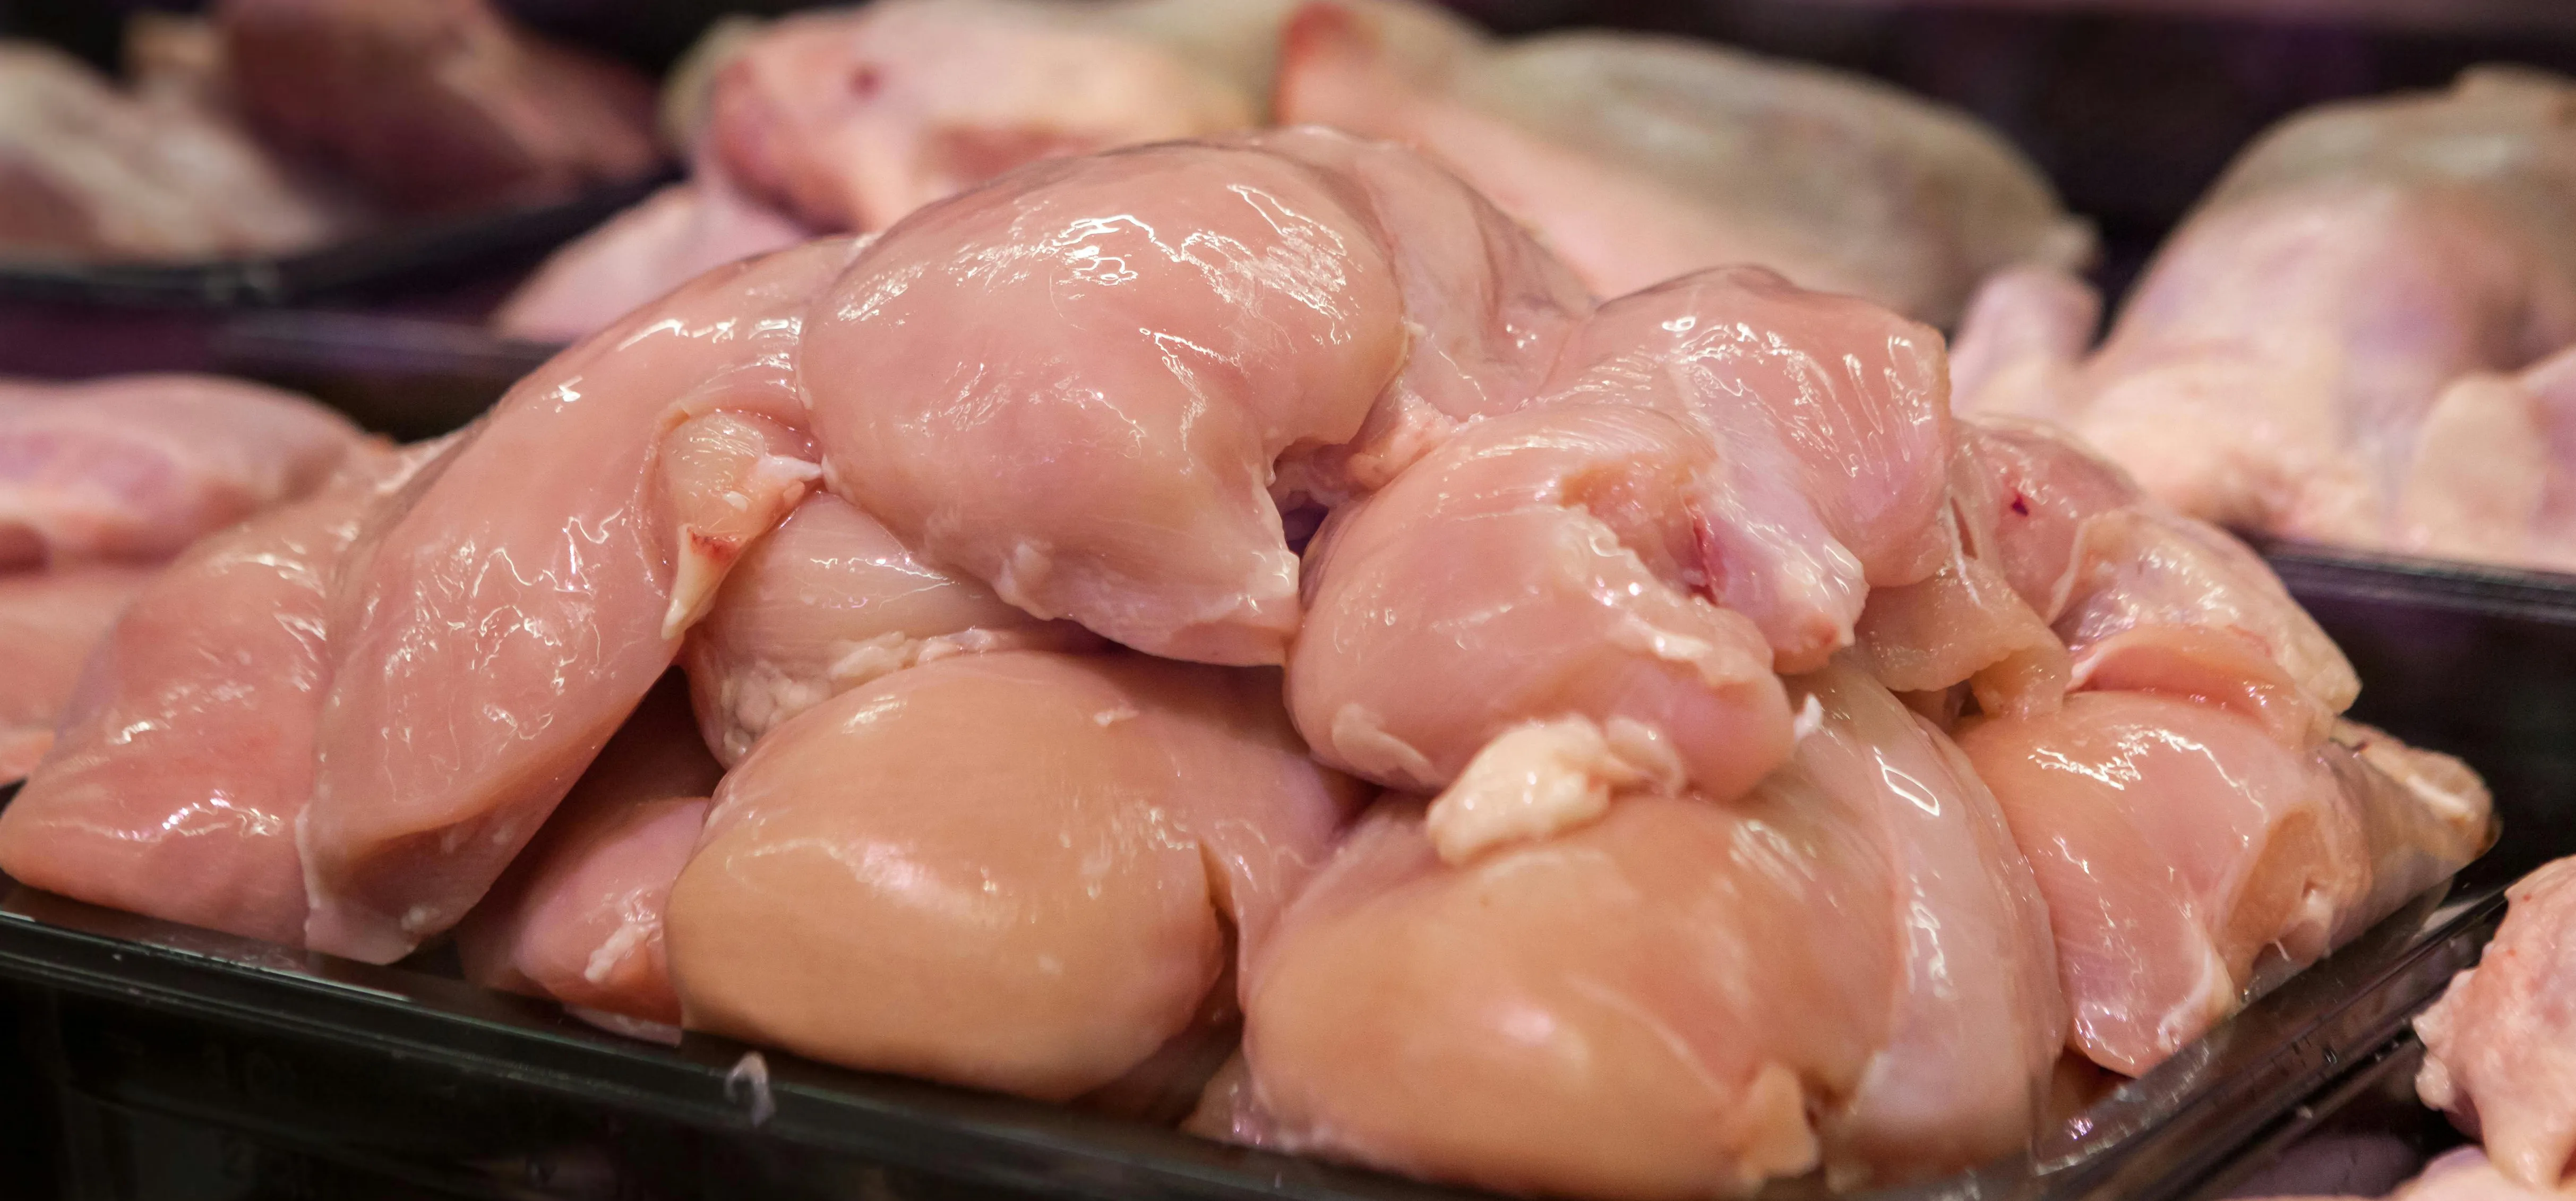
Water, Lemon Juice, Vinegar, or Nothing: Should You Even Bother Rinsing Chicken?


Featured On WonderHowTo:
Productivity & Shortcuts


Featured On WonderHowTo:
Music & Audio


Featured On WonderHowTo:
Augmented Reality


Featured On WonderHowTo:
Gaming


