

Drawing & Illustration How-Tos


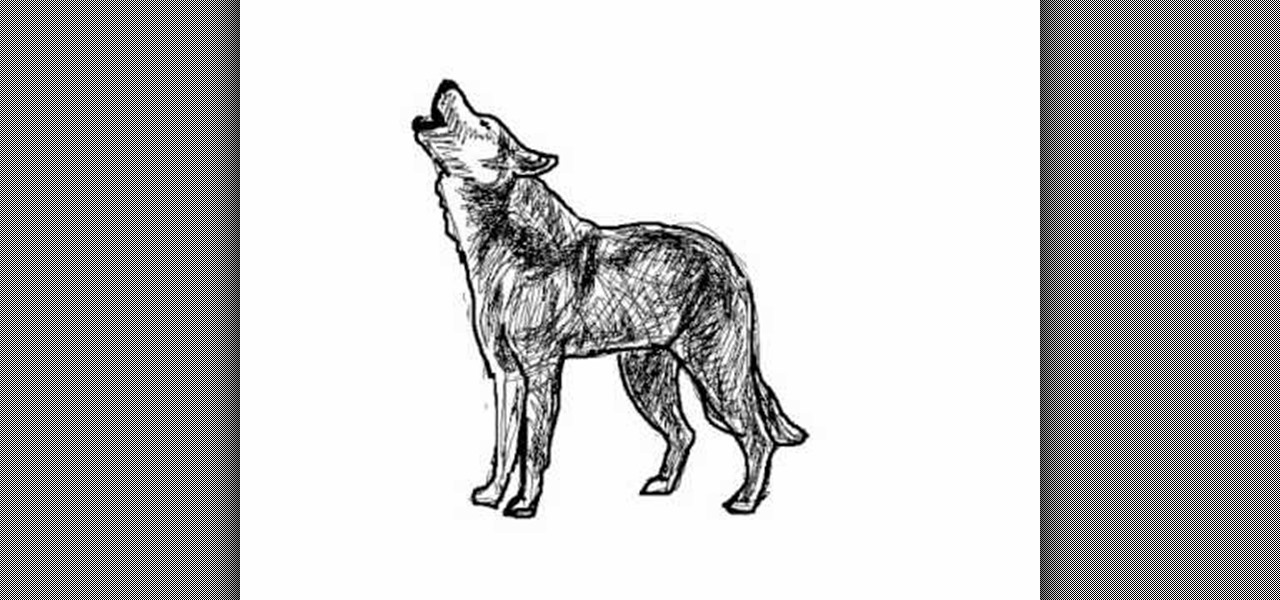
How To: Draw a wolf (lobo) howling at the moon
Wolves are amazing creatures, especially when they're howling at the moon. Capture this powerful and elegant prowess of the wolf in a drawing. You can learn the step-by-step details to drawing a wolf howling into the moonlight in this drawing guide. "Lobo" is the Spanish translation of wolf.
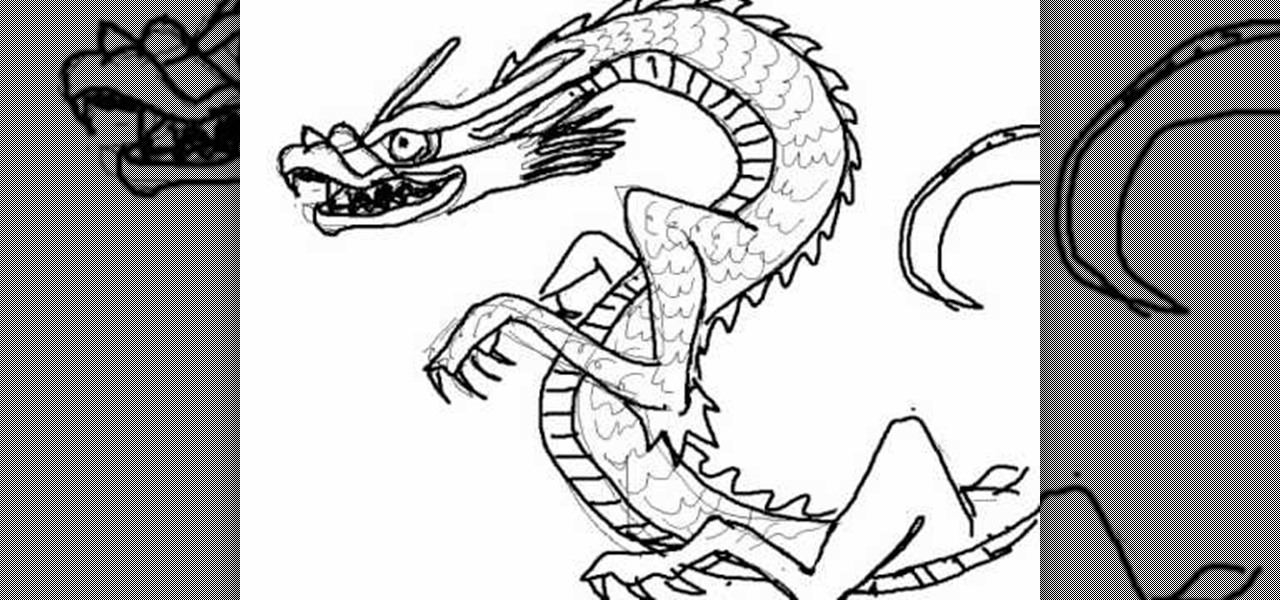
How To: Draw a simple Japanese-style dragon (dragón)
If you like the dragon art in Japanese and Chinese culture, then you know the intricateness of the artwork. But you can make your own simplified version at home with some paper and a pen. This video will show you the step-by-step details to drawing a Japanese-style dragon. "Dragón" is the Spanish translation of dragon.

How To: Draw a house like an architect's blueprint
Design your dream home! Starting from the basic idea of a house, this series of videos shows you how to draw the layout of a house as if you were an architect. Draw walls, windows, doors and large furniture to make sure you've gotten all your details correct.

How To: Use light and shadow when trying to replicate a pencil drawing in Photoshop
Starting with a basic line drawing, this tutorial shows you how you make a project in Adobe Photoshop that looks like it was drawn with a pencil. Then the tutorial goes into how you can use a few techniques to play with the lighting in your figure for maximum effect.
How To: Draw a simple pencil sketch of a knife
Drawing a pencil sketch of a knife or other bladed weapon is not incredibly difficult for the artist. Watch in this video as the artist draw a basic knife, and then demonstrate several variations, including a curved blade, you can use for your own artwork.
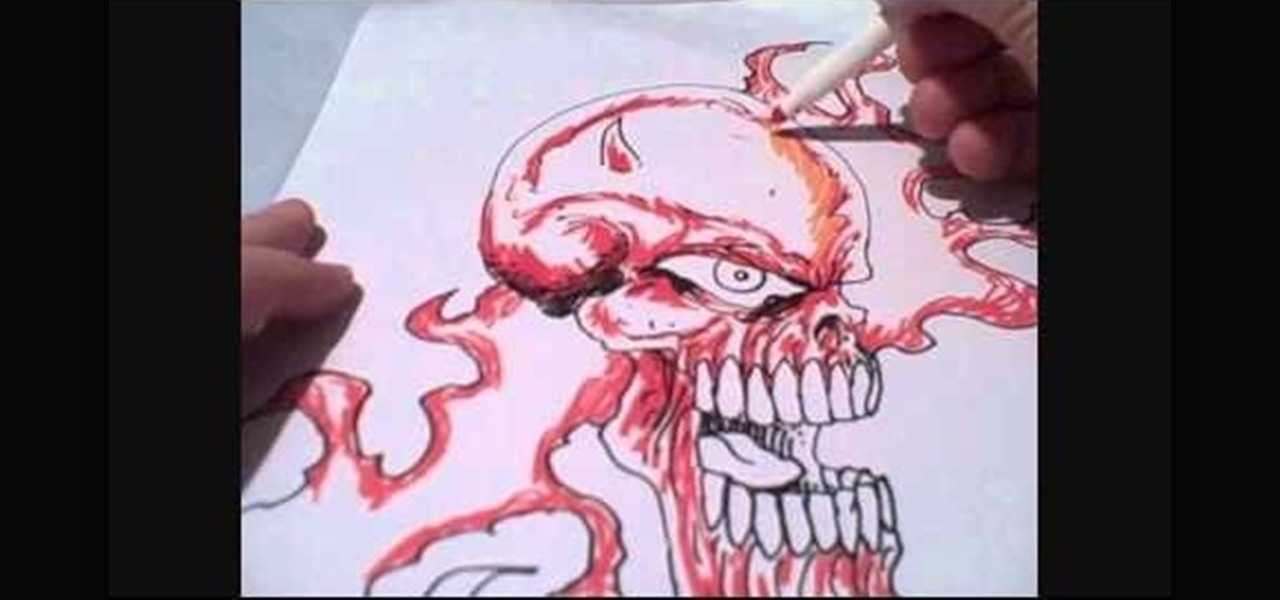
How To: Color a drawing using the washable Crayola Supertips markers
The Crayola washable supertip markers are an ideal tool for any artist, young or old, who wants to bring sharply defined, bright color to their drawings. This video demonstrates how to color simple line drawings using these basic markers.
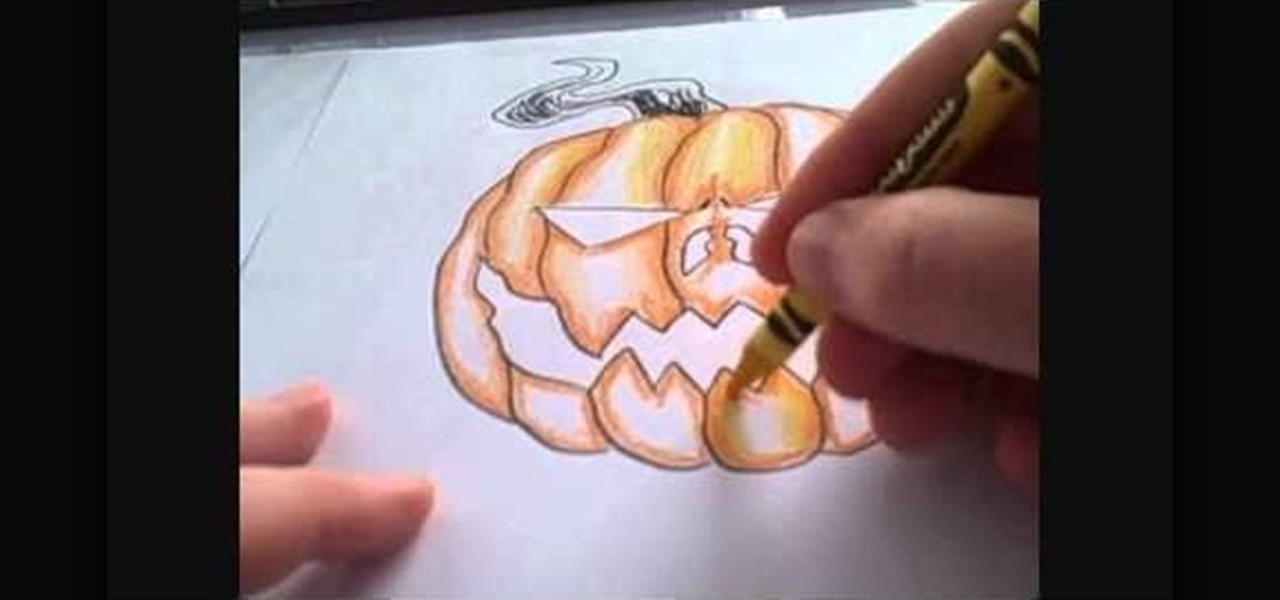
How To: Color a Halloween jack-o-lantern using Crayola crayons
Despite their reputation, Crayola crayons can still be a useful medium for an artist to use. They come in a wide variety of highly saturated colors, which makes them ideal for when you want brightly colored projects. This tutorial demonstrates how to use Crayola crayons to draw a Halloween jack o lantern.

How To: Get good results when figure drawing from a photograph using Photoshop
You can certainly use Photoshop to do do freehand figure drawing! This tutorial shows you how to make a drawing, starting with a sketch, from a photograph while using Adobe Photoshop. Then add in some coloring, shading and highlights, and then use color theory to bring out the most important lines.
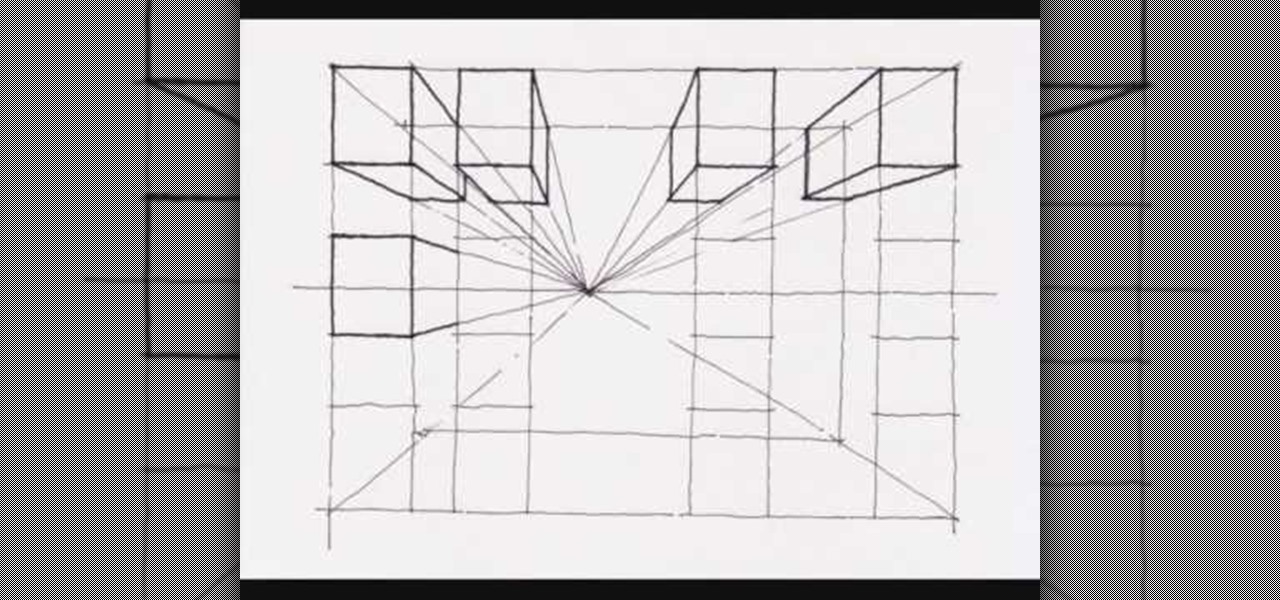
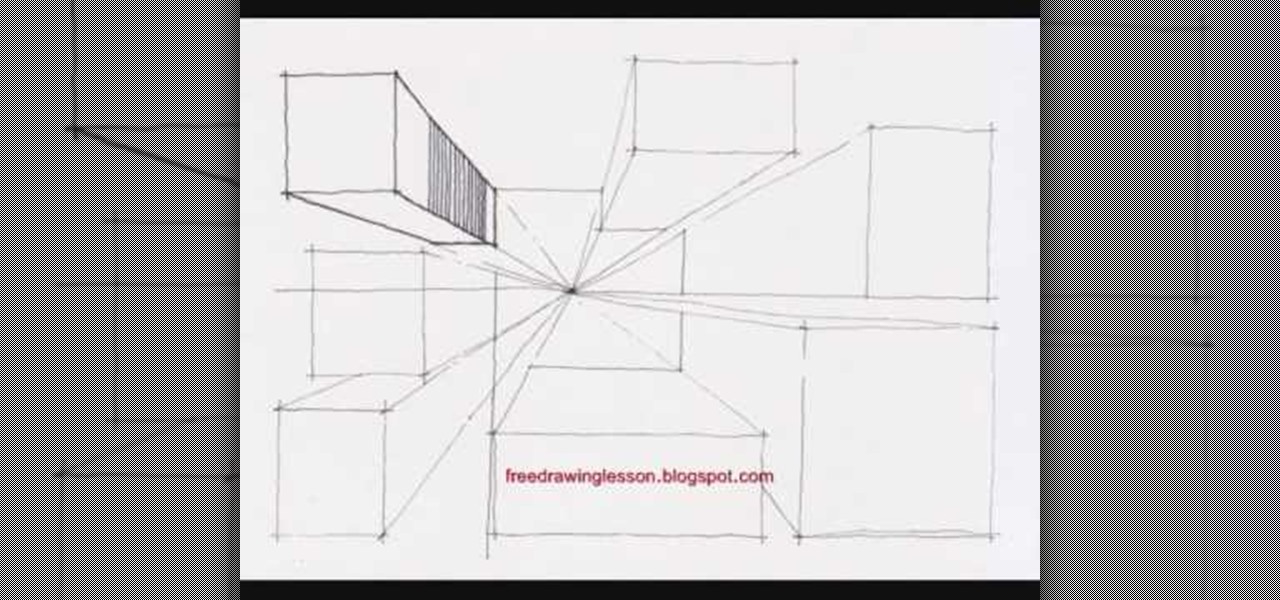
How To: Create a one point perspective drawing
This video demonstrates how to create a one point perspective drawing. You begin by making a horizon line across your paper and adding diagonal lines from the corners which will all converge at a single point along your horizon line. You can then create boxes by creating squares or rectangles around the lines extending from the central point. The outer edges of your rectangle can further be connected to your single point in order to create a 3-dimensional shape for the boxes and cubes which y...
How To: Draw the male upper body (torso, chest and arms)
Drawing human subjects can be tough if you're not an experienced artist. getting every detail just right it quite a task, because of the intricateness of the human body. But Merrill is going to show you how it's done.
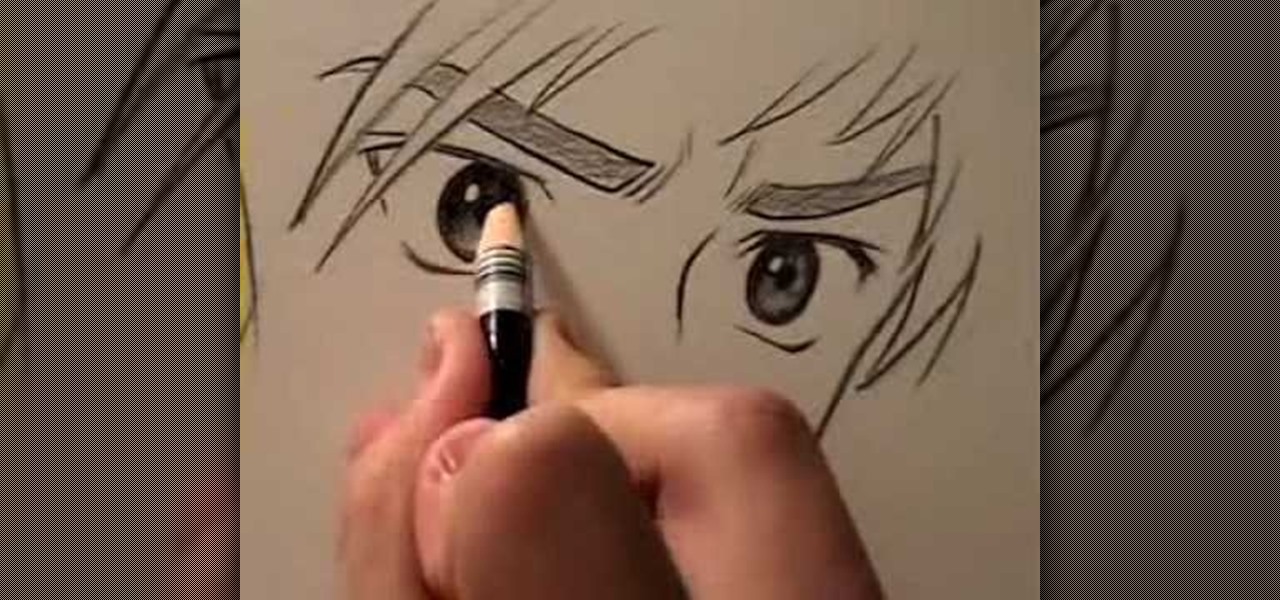
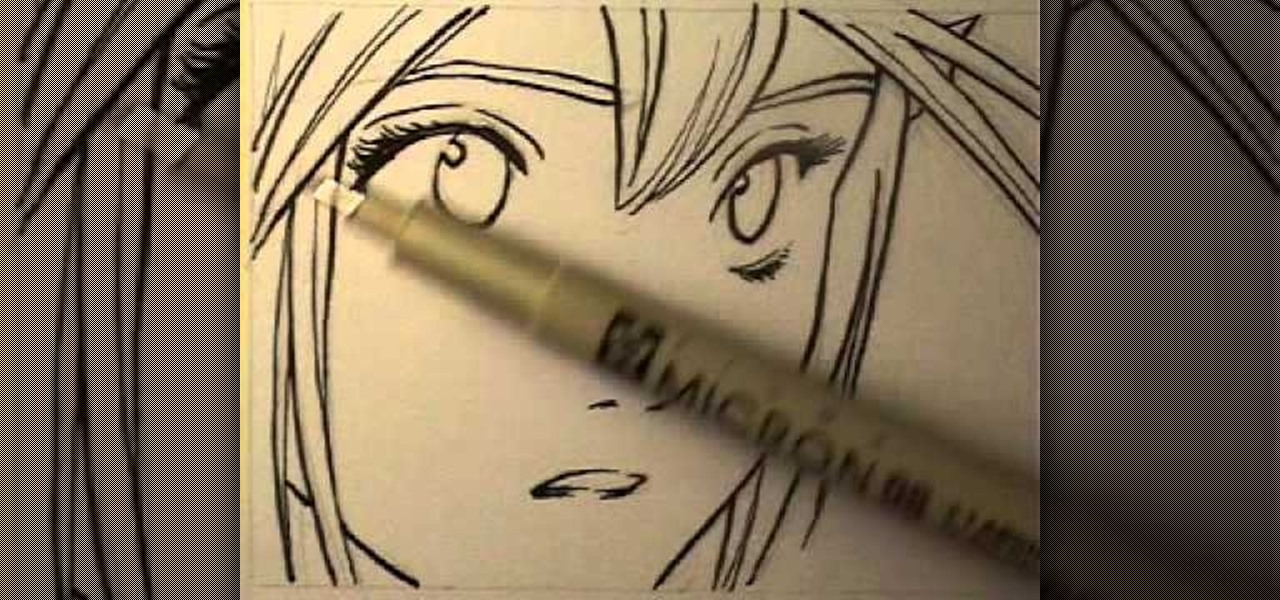
How To: Draw manga eyes four different ways
In this video, Mark Crilley presents viewers with four ways to draw anime eyes. The first set of eyes has an intense look to the them, with the face tilted slightly while the eyes are staring at the viewer. Eyebrows are added in a sloping manner in order to create a more dramatic effect and drawing attention to the eyes. The next set of eyes are more hexagonal in shape and look downwards while wide open, creating more of a surprised expression. Thick eyebrows framing the eyes also bring atten...

How To: Draw a head in 3/4 or side view
This video shows aspiring artists how to draw the head in a 3/4 or a side view. Three lines should first be drawn in a pie-wedge like shape. First, a line is drawn from the chin to the hair line and another one is connected to that, arching across the forehead to the back of the cranium. Then a final line is drawn from the endpoint here to the base of the chin. A face can then be drawn along line 1, to show the profile or side-view of your character. A triangular shape is drawn about half-way...

How To: Draw Grenadier from "Gears of War" on Photoshop
There's nothing quite like drawing a venemous villian trying to throw a bomb at you to awaken your senses and get your fingers flexible for the drawing-filled day ahead.
How To: Draw a boulevard of retreat houses with a stream running through the center
With all the stuff we have to do these days and our constant connectivity to the internet, it's no wonder most of us have a hard time taking a break. And no, by break we don't mean checking your Facebook and updating your satus.

How To: Draw a small and cozy town with a single vanishing point
Artists discovered the almighty vanishing point during the early Renaissance and haven't stopped using it since. The genius of the vanishing point is that it gives a three dimensional quality to a two dimensional space, meaning increased depth perception and more believability.
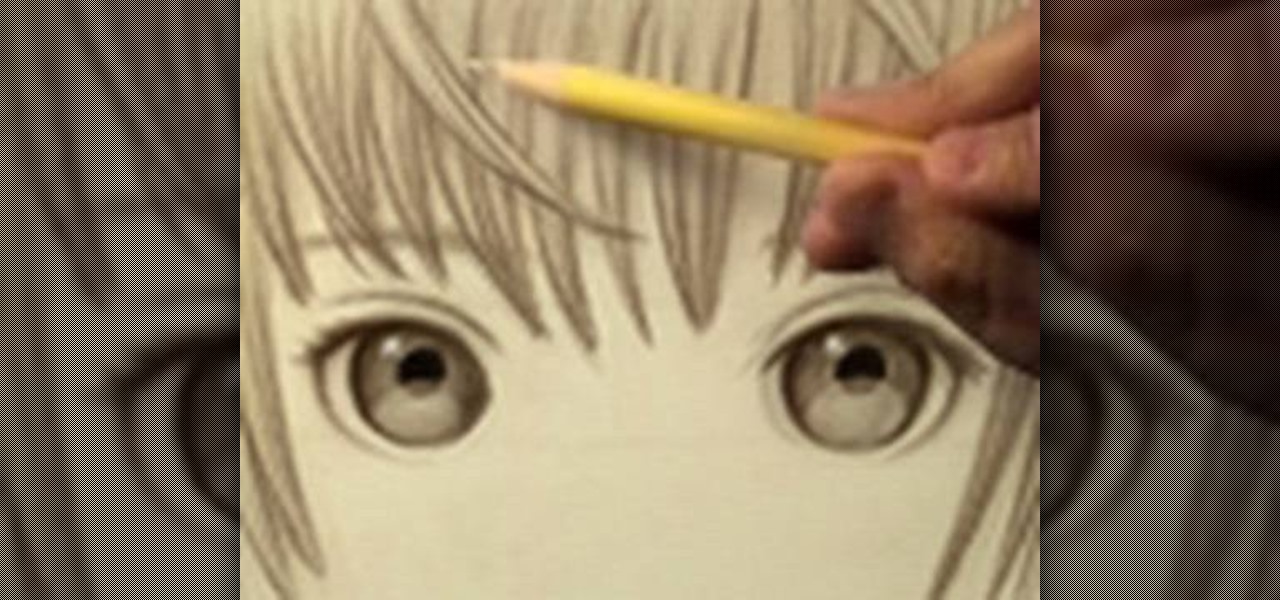
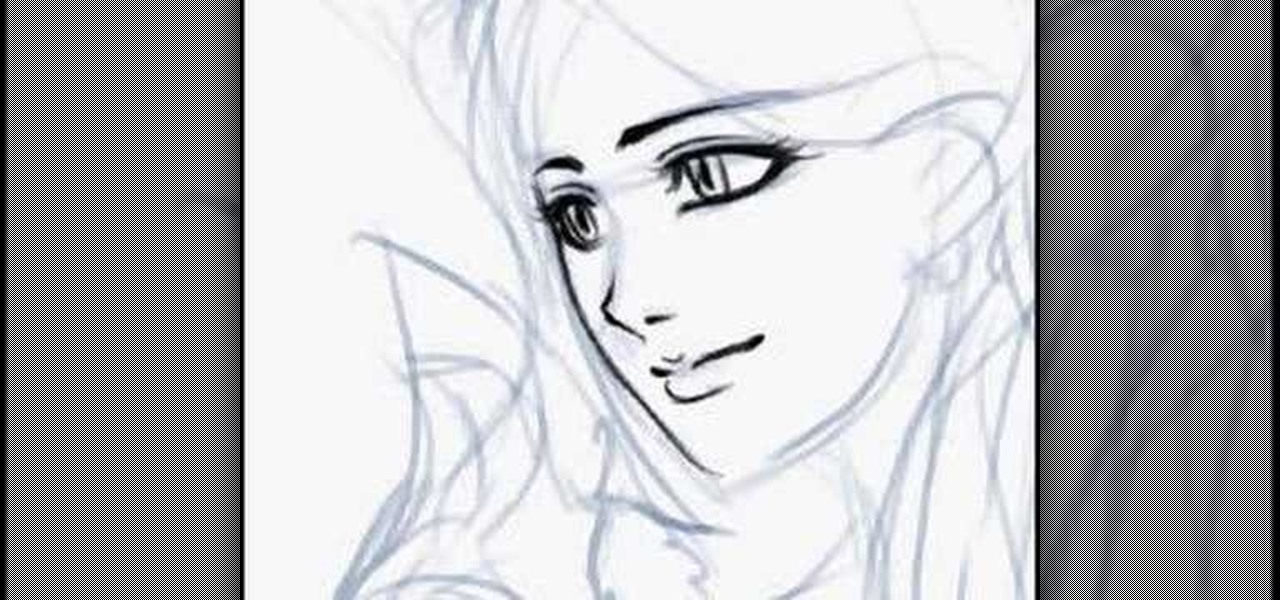
How To: Draw a pretty young anime girl with large eyes
The great thing about drawing in the anime or manga style is that once you've learned how to draw one girl you can easily learn to draw any girl, from the main female character in "Chobits" to Sailor Moon. This is because there's so much crossover in how women are depicted.
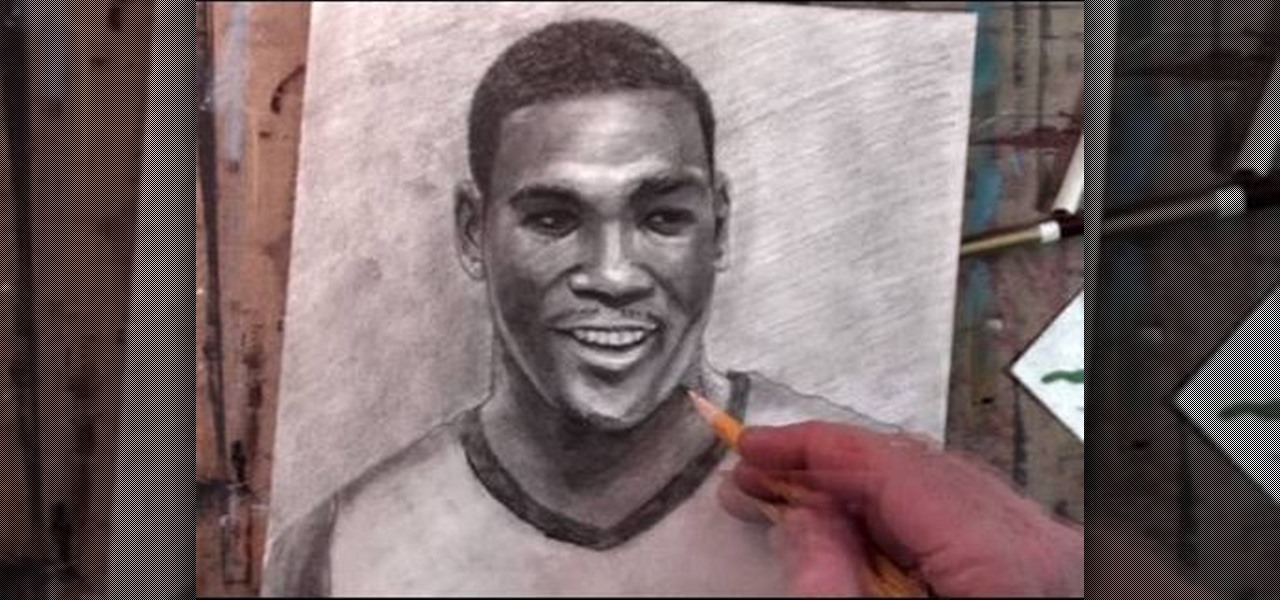
How To: Draw Kevin Durant of the Oklahoma City Thunder in his Team USA duds
If you're a fan of the Oklahoma City Thunder, then you must be a fan of Kevin Durant (previously of the Seattle SuperSonics). And since you're a fan of Kevin Durant, you should try putting your art skills to test and attempt to draw a nice portrait of this great basketball player in his Team USA uniform.
How To: Draw a top-down view of mile high skyscrapers
You've probably already encountered a lot of video tutorials and books that show you how to depict skyscrapers from the front, side, and even looking up. But have you ever drawn them from the top looking down before? If you wish to truly excell at architectural draftsmanship then this is the perfect drawing tutorial for you.
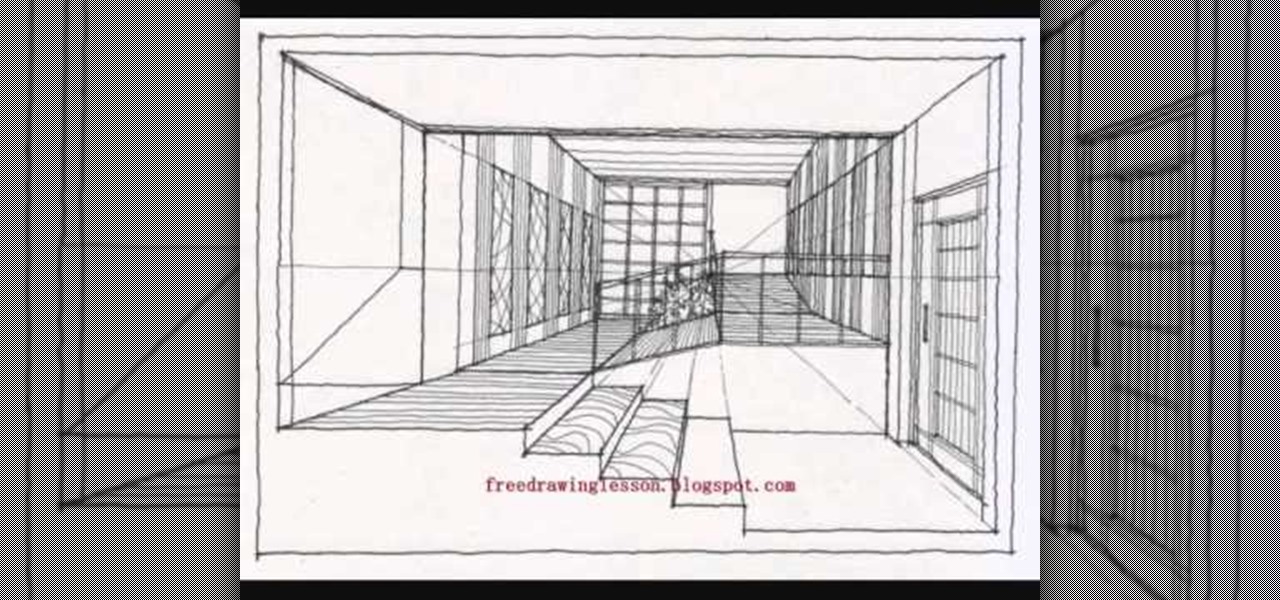
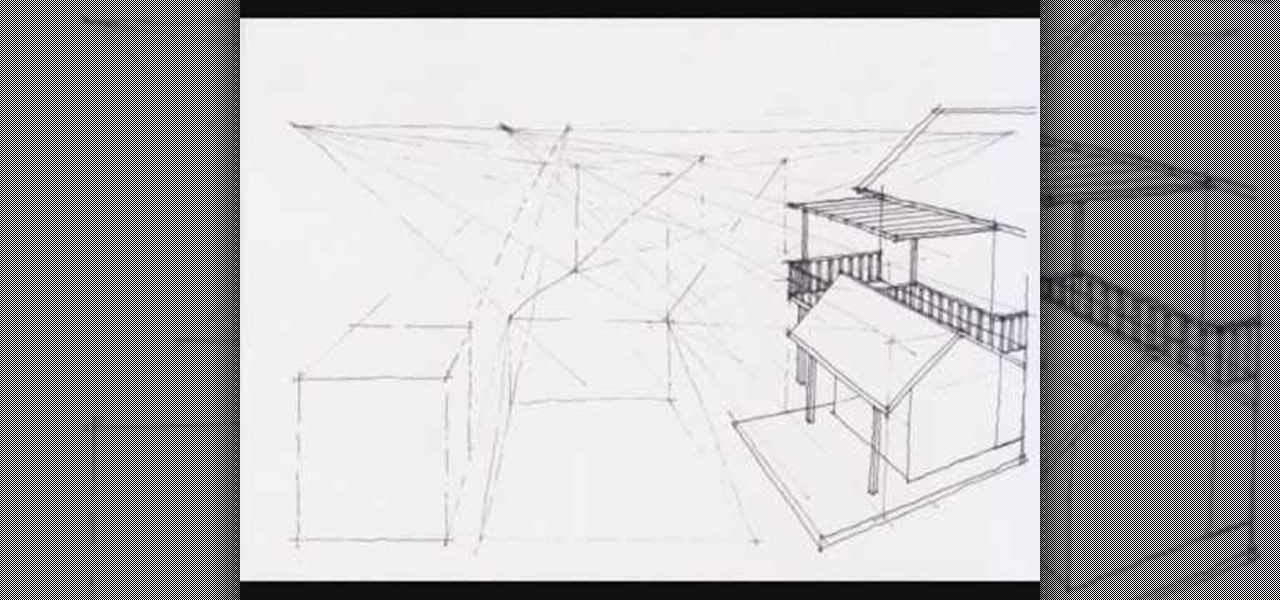
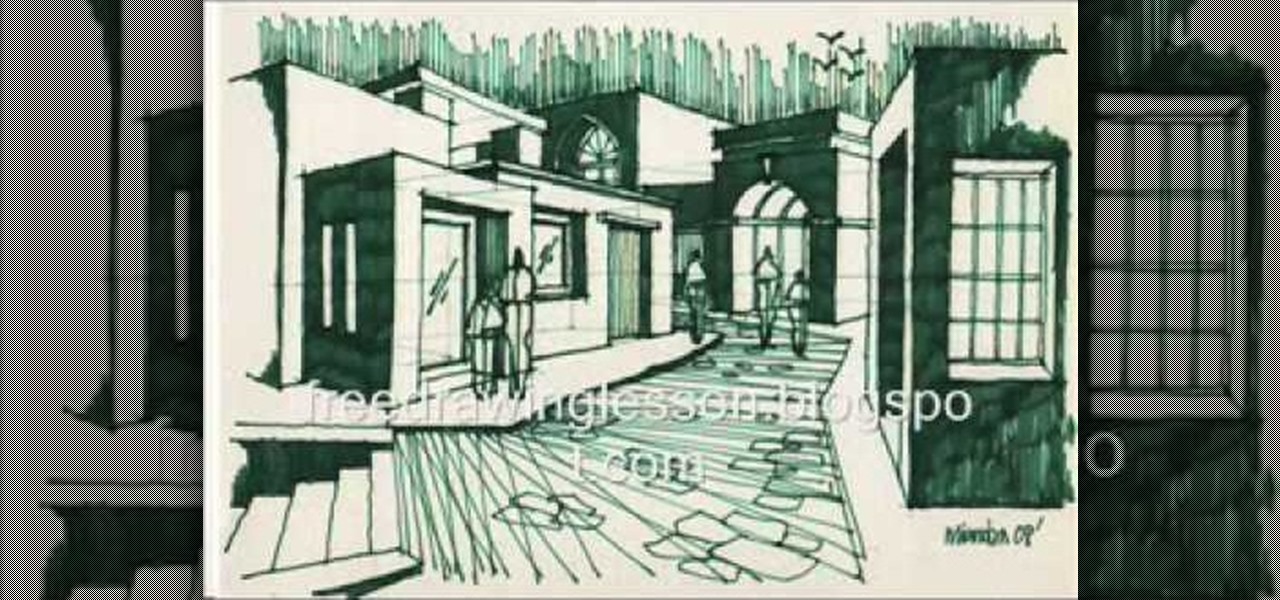
How To: Draw an architectural sectional interior with a vanishing point
If you're interested in architectural drawing, or are in fact practicing to eventually become an architect, then this is a great tutorial for honing your draftsmanship.

How To: Draw four side-by-side scenes of a suburban city
What's the best way to get better at drawing? Practicing, of course! When it comes to art, especially its more technical side of drafting, sketching out buildings in relation to a vanishing point or a suburban garden scene filled with lots of architectural elements increases your ability to draw more realistically.
How To: Go from a rough pencil sketch of "Brody's Ghost" to a final ink version
"Brody's Ghost" is a popular anime series that's depicted in typical anime style: Characters have ginormous eyes and pupils, small, cherubic faces, and teeny mouths. If you're into the anime style of drawing then check out this tutorial to learn how to go from a rough pencil sketch of a "Brody's Ghost" female character to a final version with ink.
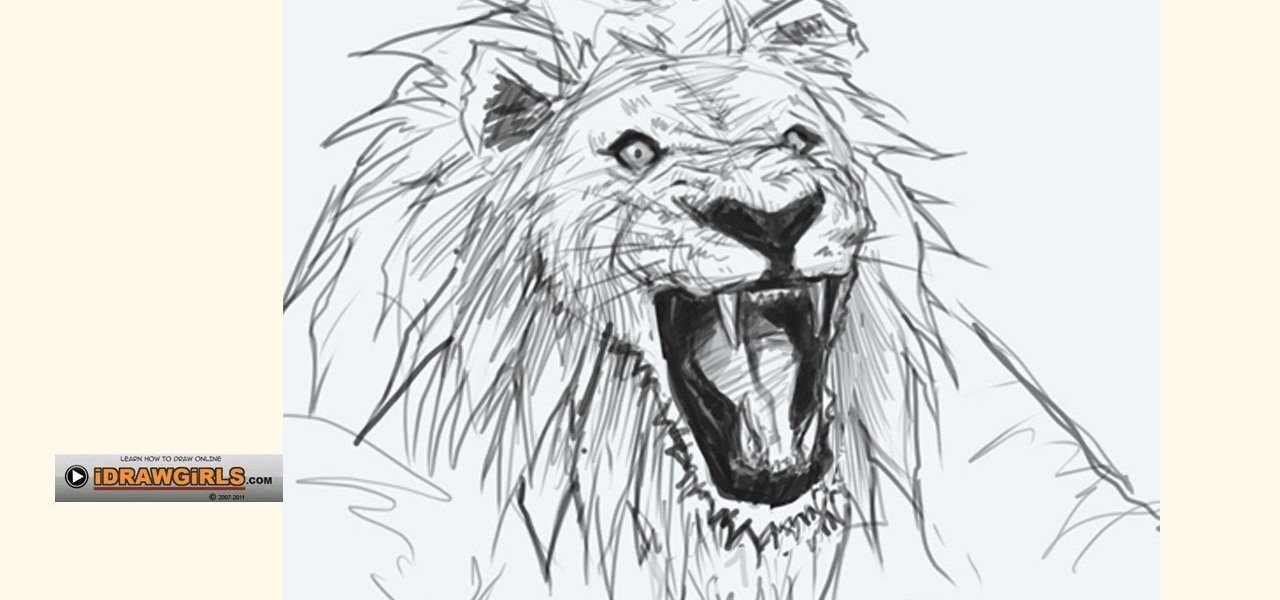
How To: Draw a bemused lion head for beginners
Simba from "The Lion King" couldn't have done it better himself. In this video tutorial you'll learn how to sketch out a very realistic lion head held in a bemused expression. Whether you love lions or find them frightening, drawing this lion head is an excellent way to gain knowledge of anatomy and how it affects different poses.
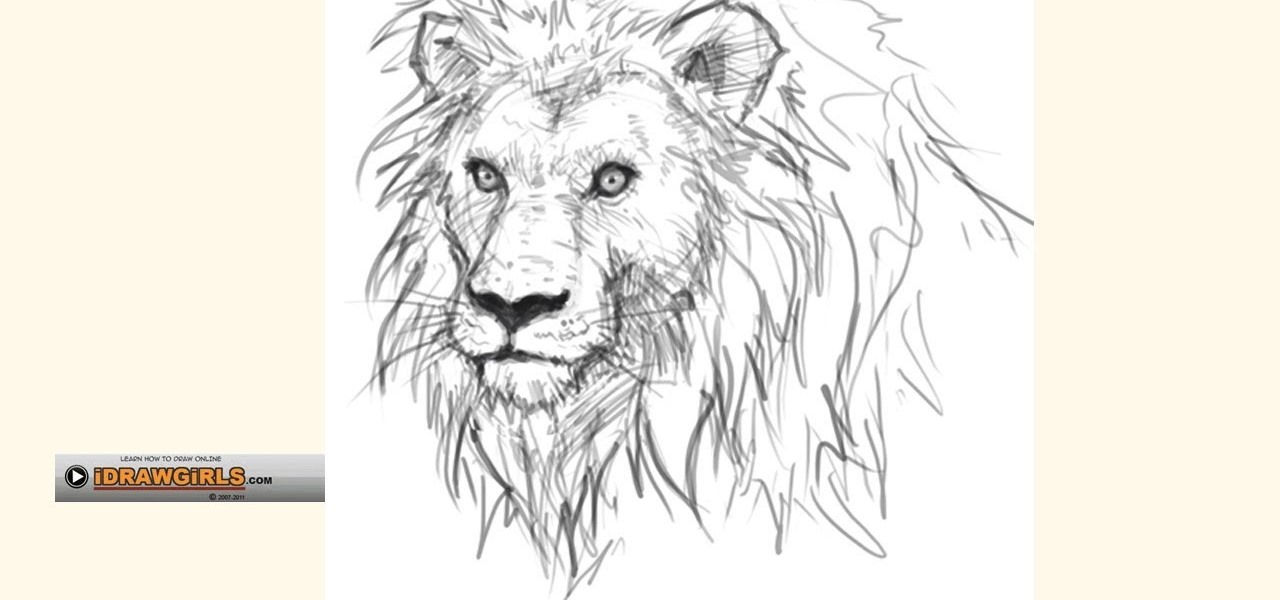
How To: Draw a regal and proud lion for beginners
If you've ever watched "The Lion King," then you know just how kick-ass lions can be. Kings of the pride with a very prosh stride and a bark to match their bite, they are creatures of the hunt yet hold a regal stature about them.

How To: Write numbers in calligraphy copperplate
In this video, we learn how to write numbers in calligraphy copperplate. To write the number five, you will simply make the shape of the number, but add in a thick edge to the bump and curved edges to the end. To write the six, use a thick line on the side of the number and a thin line for the circle in the middle. To make the seven, the top should be curved and thick, and the lower line should be very thick with a straight edge. To make the eight, draw the number so that the left edge is thi...
How To: Draw an anime girl in Photoshop
In this video, we learn how to draw an anime girl in Photoshop. First, draw the outline of the face, shoulders, and neck using a light touch of the brush. Next, draw in the details of the face and then start drawing in the hair. Use different shapes and swirls for the hair, to make it thick and long around her face and body. Next, draw in her hand and arm. Use a darker brush to fill in the details and draw over the outline, to create the final sketch. Add in eyelashes and feminine details to ...

How To: Draw and color landscape scenery
In this video, we learn how to draw and color landscape scenery. First, draw your starting point, making a horizontal line. After this, draw other reference points on the paper, then start to draw in lines to see where your structures are going to be. After you do this, make trees on the paper, then start to fill in details of plants and flowers around the trees. Draw in buildings and stairs, making mountains and hills in the background. Add as many detail as you feel needed, and then start t...
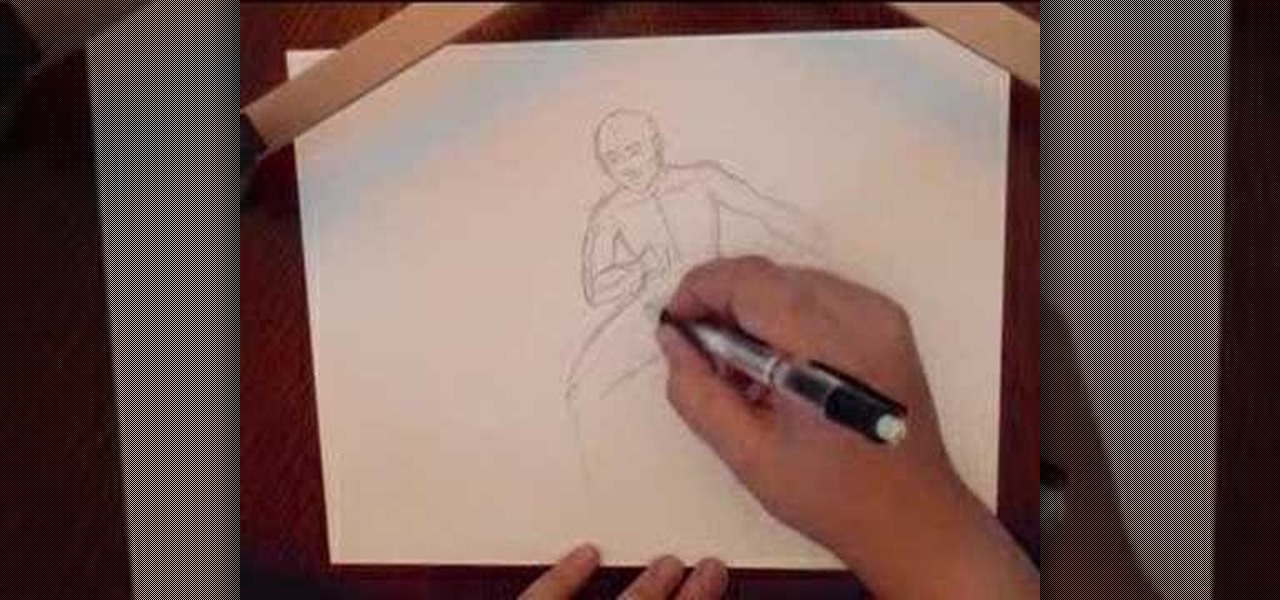
How To: Draw a basic human figure
In this video, we learn how to draw a basic human figure. Start with a circle first as the head, then draw cross hairs over the circle to indicate the tilt and direction the head is facing. Then, add in the chin, shoulders, then circles where the joints are. Draw in the rib cage and spine, then the hip bones. After this, draw the legs and continue down until you reach the feet. When you finished with this outline, use a darker line to draw more details and shading in on the face and body. Whe...

How To: Color a complex street drawing with art markers
In order to color complex street drawings with markers, you will need the following: markers in assorted colors and a street sketch.
How To: Draw a simple scenery
In this video, we learn how to draw a simple scenery. Start by drawing a horizontal line across the page. From here, draw reference boxes along the middle of the line. Now you can start filling in more details, making buildings out of the boxes. After this, make people outside of the buildings, then make a street and trees in the background. Fill in shading and lines to make the picture more realistic. The key to this is to learn how to start with your reference point to make everything flow ...
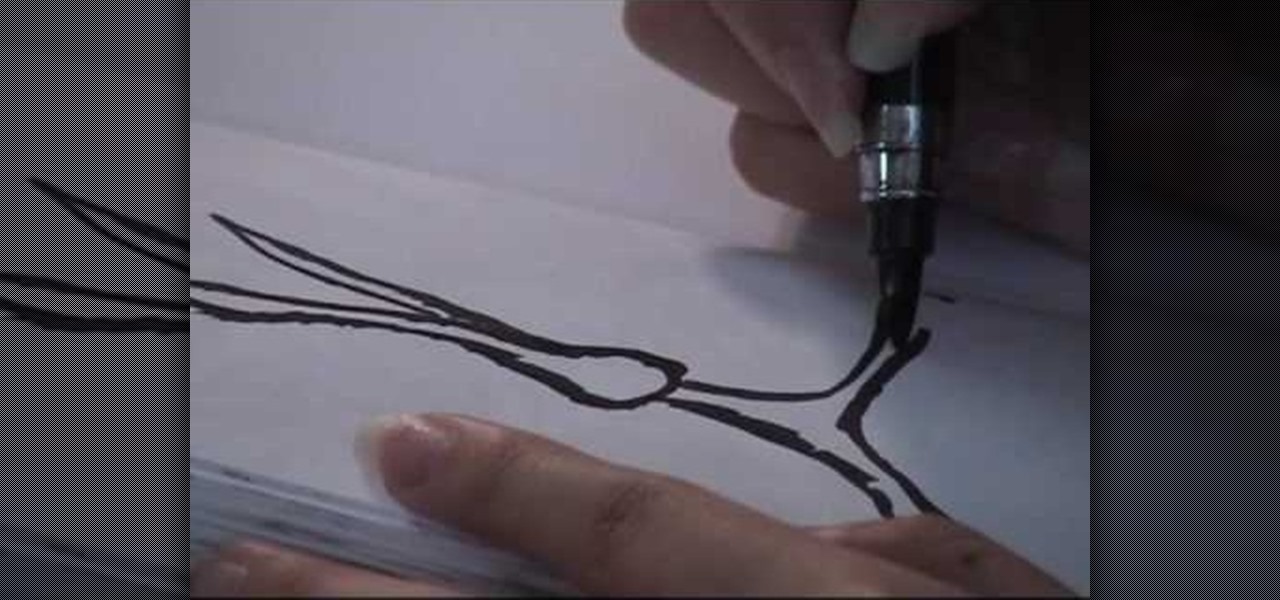
How To: Refill ink in a pocket brush pen
In this video, we learn how to refill ink a pocket brush pen with Henry Lee. First, mix water with the ink, depending on the color of ink you want. After this, you will take the pen and soak it in water, then into the ink. Turn the knob on the handle as you do this so the ink starts to infuse into the pen. To get more ink in, point the brush to the sky and turn the knob slowly to drive the extra air out of the pen. Then, dip the pen into the ink and turn the knob in the other direction. Conti...

How To: Draw and color a city with art markers
In this video, we learn how to draw and color a city with art markers. First, draw a horizontal line as your reference point to where the city buildings are going to go. Make a point in the middle as the background line. Now, start to draw in the buildings around the middle line, making diagonal straight lines, then drawing in the details of the buildings. Draw in taller buildings in the back, then start to draw the larger details in the front of the drawing. Add in shading and details as nee...
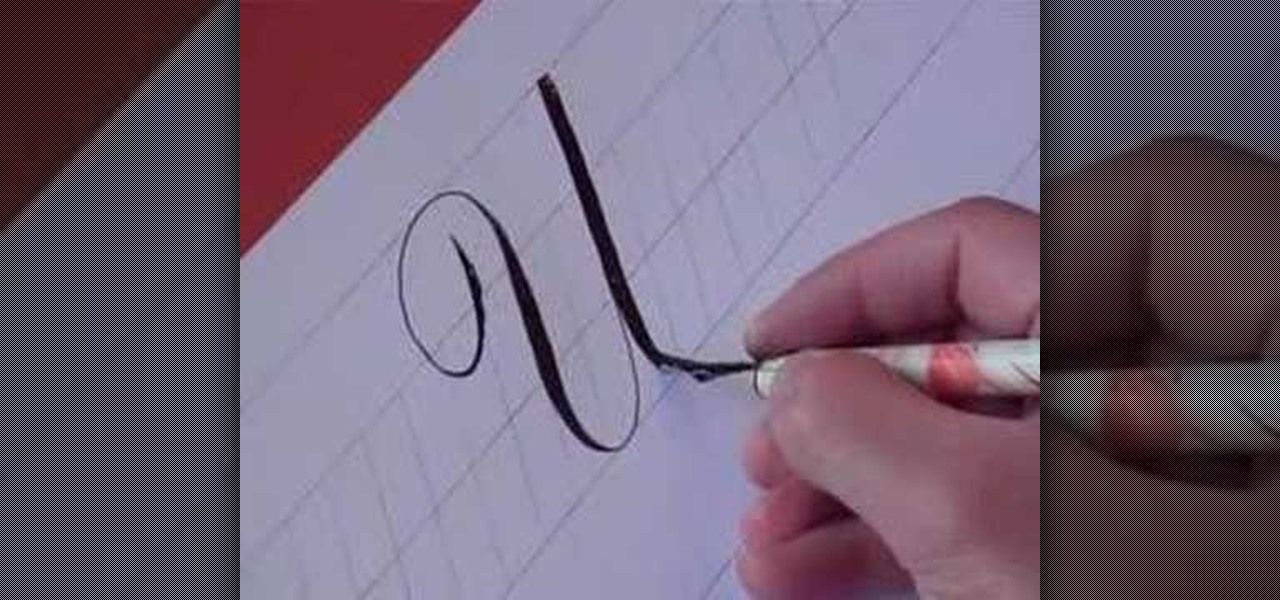
How To: Write the letter U in calligraphy copperplate
In this video, you will learn how to write the letter U in calligraphy copperplate. Capital U: Take the calligraphy pen with black ink and scaled calligraphy paper. Make a narrow, looped curve to start the "U". After the loop, make a broad brush stroke down. Narrow the brush on the up stroke and broaden again on the down stroke. Narrow the brush on the final upstroke.
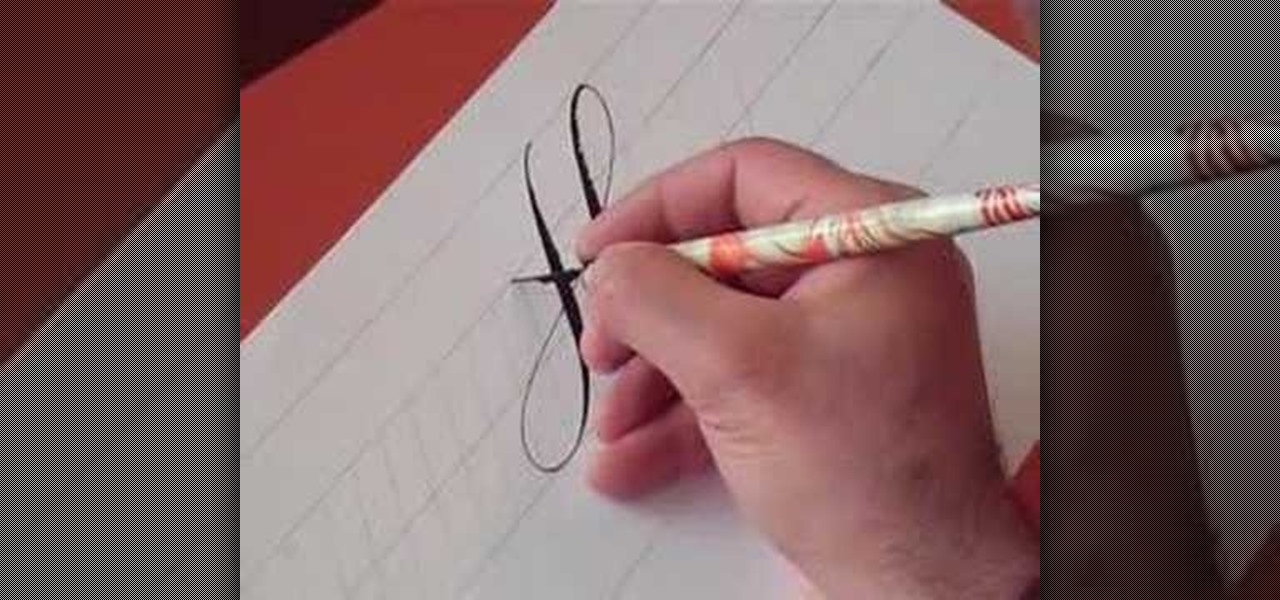
How To: Write the letter H in calligraphy copperplate
In this video, we learn how to write the letter H in calligraphy copperplate. To make the upper-case letter, start off drawing into a thick line, with a curve at the end of the letter. Make the curve end touching the line, then draw it out to the right side of the letter, bringing it back down to a line to make the "h" shape. Next, draw a line across the two lines with a curve at both ends. To make the lower-case letter, start by drawing a thin line to make a loop at the top, then bring it do...
How To: Draw a red and yellow bird with a pencil sketch and colored markers
Using your favorite pencil, you can sketch the picture of a bird (like a red-breasted robin) and then use markers to color it in. The tutorial shows you the steps, starting from a blank piece of paper, to draw a multicolored bird.
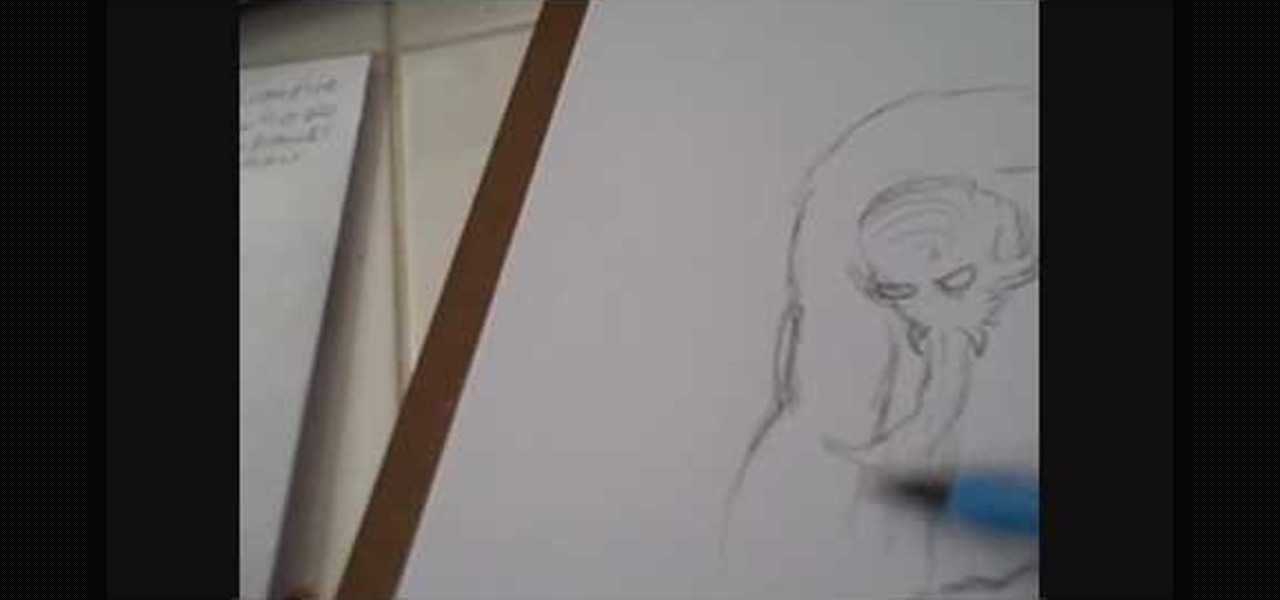
How To: Draw a sketch of a creepy alien or monster
Watch a sketch artist draw a creepy monster with a bulbous head and long, clawed arms. A shading technique to make everything look creepy is also demonstrated. This piece of fantasy art can be replicated whenever you need to know how to draw something scary to terrify your friends with!
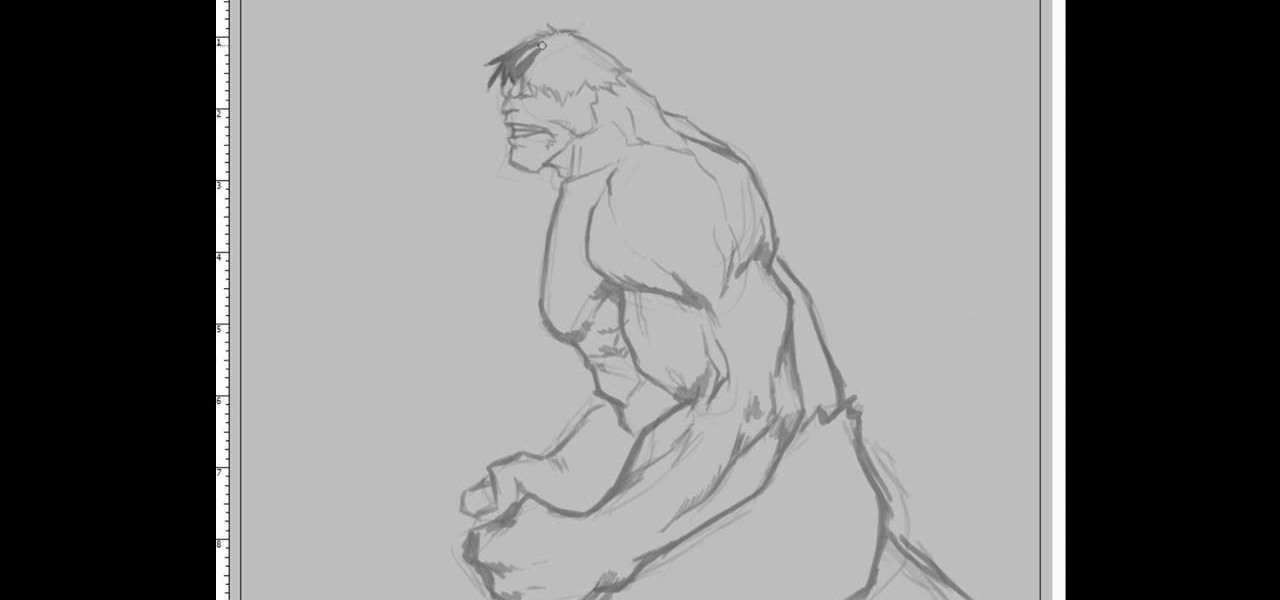
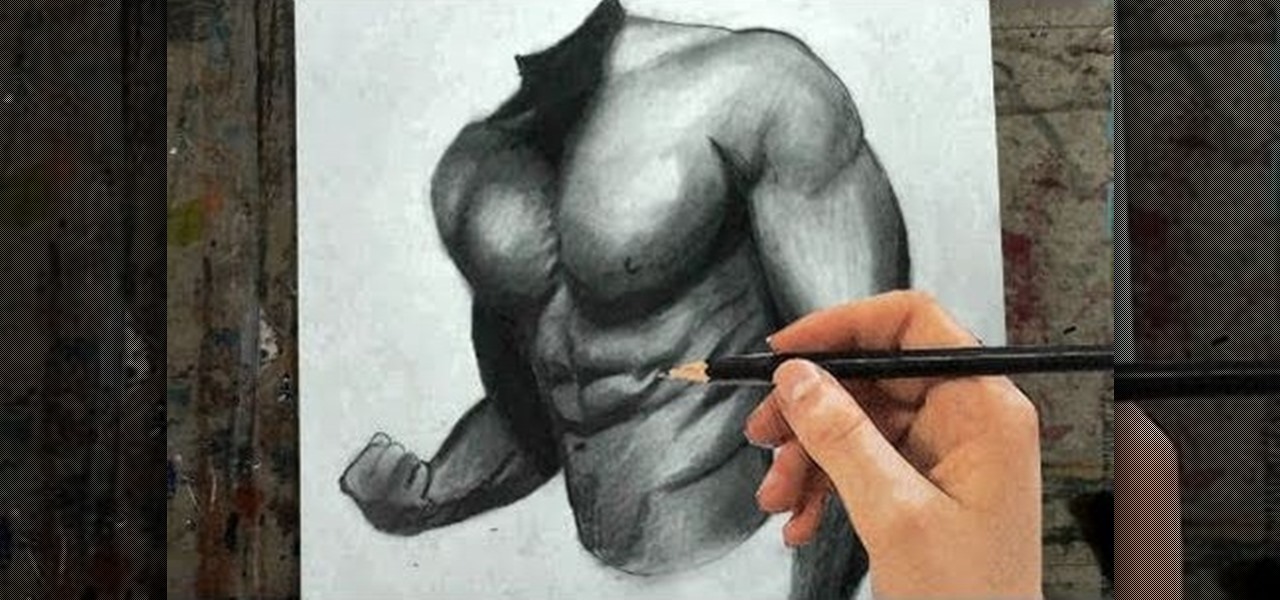
How To: Draw a side shot of The Incredible Hulk
The Incredible Hulk, the result of Bruce Banner being exposed to an intense amount of Gamma Rays. Gets stronger the more you hurt him, and can break tanks in half no sweat. Wouldn't you like to be able to draw the green giant? In this video you will learn how to draw The Incredible Hulk from a side view, watch him start from the outline all the way down to the coloring of the finished picture.

How To: Draw faces just like Steven Sanchez in Adobe Photoshop CS3
Comic book art is not only awesome, but it takes a really keen eye, and talent, to draw great comic book art. Steven Sanchez has a unique style and tone to his artwork, and in this great two-part video, you will learn how to draw the faces and heads that make Steven stand out from other artists.
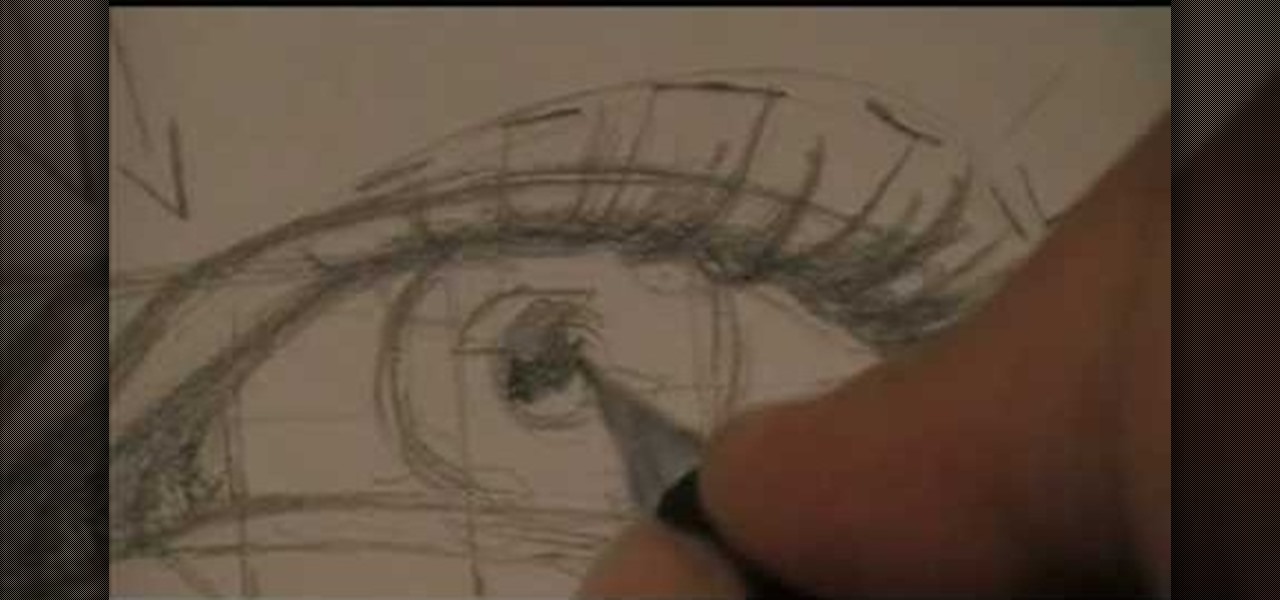
How To: Draw an eye with amazing detail
One of the most emotional and striking things that you can draw is the human eye. It can say everything that you want to say without a single piece of text. But to draw like that requires skill and talent. In this amazing video you will watch as he shows you all the various steps and techniques that he uses to make a truly amazing eye, starting with pencil and eventually finishing with ink.
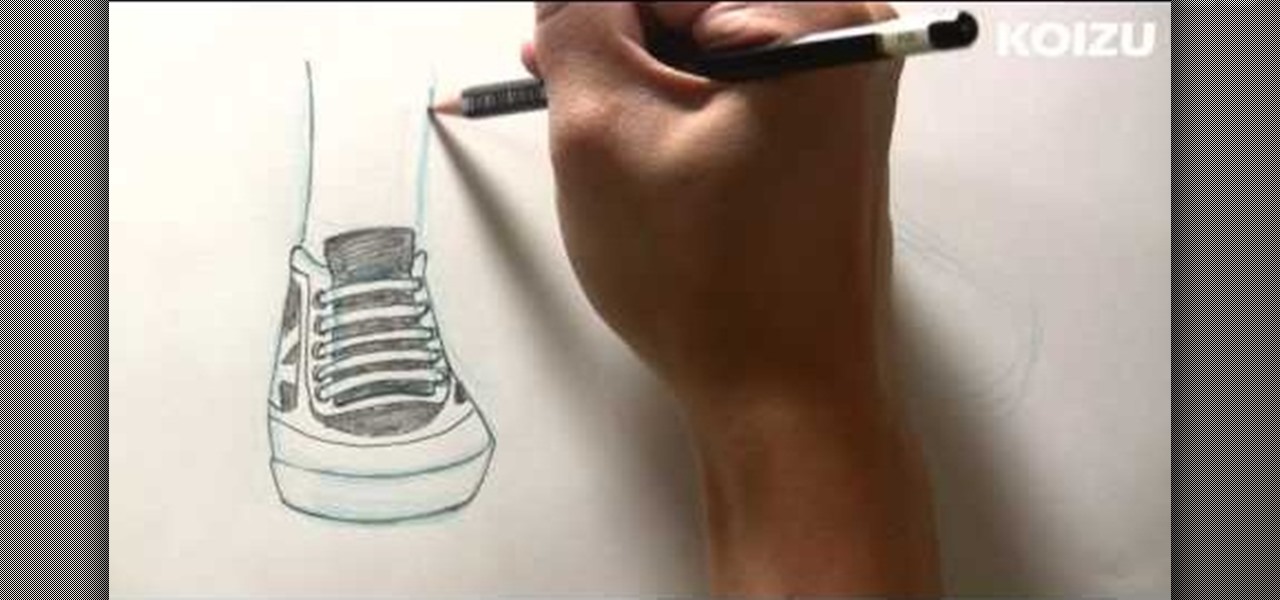
How To: Draw manga shoes from a side angle
In these great videos you'll learn how to draw each shoe from a 3/4 view. This is a pretty tough style, and Koizu takes his time, showing you the exact steps you need to take to getting the right look, also his voice reminds me of that one "happy clouds" guy. You know the one!
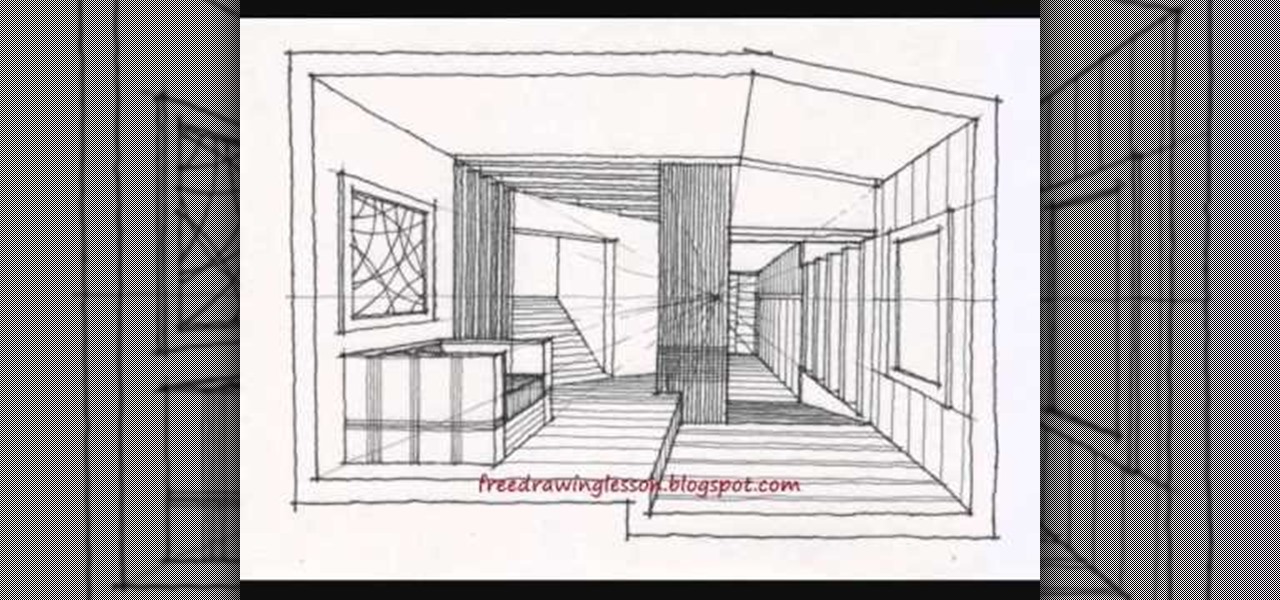
How To: Draw a large room with sectioned off spaces
When vanishing point perspective was first discovered in the early Renaissance, artists were astounded by how the draftsman tool was able to transform a flat, 2D space (that until then always looked like a flat, 2D space without perspective) into a believable 3D image. We've been using vanishing point perspective ever since, and architects would die without it.