

Drawing & Illustration How-Tos


How To: Draw the Hammer Bros. from Mario Brothers
In this easy to follow video, the artist will walk you through her simple illustration of Hammer Bro, one of the infamous villains in the Mario Bros. video game series. She begins by breaking down the character's beak, head and helmet into basic shapes, (such as triangles and half circles) and then pencils in the detail. Finally ending with the shell and arms, she leaves you with an excellent depiction of the Hammer's character. Given that you have something to draw with and something to draw...

How To: Draw Mario from Mushroom Kingdom
First of all you need a pencil and a sheet of white paper. You have to start with the cap and then the round face. Now draw the eyes and the mouth. Draw the badge over its cap. Now draw the ears. Then you have to draw the two hands. Draw the body and make some pockets as shown. Now draw the boots. Now make the eyebrows. Make the soles of the boots. Shade in the forehead with your pencil and then wipe it with a tissue paper. Then use an eraser to erase it a little. Now darken the eyebrows. Mak...
How To: Draw Manic the Hedgehog
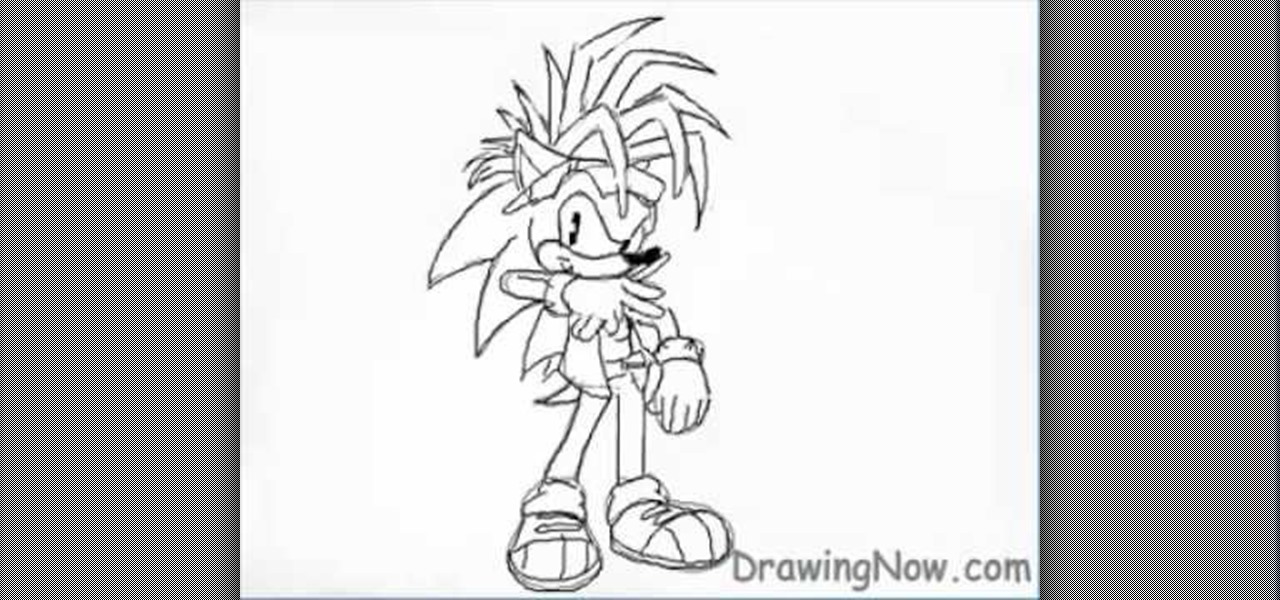
To draw Manic the Hedgehog, you should start by sketching a rough outline of the body, including Manic's hair. Once you have your sketch outline, start drawing over the outline with a darker line, including details like the eyes, nose, mouth, arms, hands, clothes and shoes. Once you have your final outline, go back and erase your initial rough sketch, so that your line drawing looks clean. Now that your line drawing is ready, you can start filling in with color! Start with Manic's green areas...

How To: Draw Ned Flanders from The Simpsons
In this how-to video, you will learn how to draw Ned Flanders from The Simpsons. First, start off with the basic outline of the body. Use simple shapes for this. Next, fill in the eyes, hair, nose, mustache, ears, and mouth of the figure. From there, you can move on to the details of the clothing such as the collar and cuffs of the sweater. Finish with the shoes and the fingers on the hand. The basic outline is finished. Now, go in and erase the simple shapes from the drawing and fill in more...
How To: Draw the face of Bowser Jr. from Mario
This video helps to draw Bowser Jr. First draw a half circle and join the ends by drawing two curves as shown in the video. Continue the left line, to draw a mouth and end it with a small arc to look like a smile. Then close the line by joining it with the right end. On the top of the half circle draw an arc and above it draw a feather shaped hair as shown. Next you have to draw eyes with eyelashes and make them look dark. Now, draw two short lines which looks like nostrils as shown in the vi...
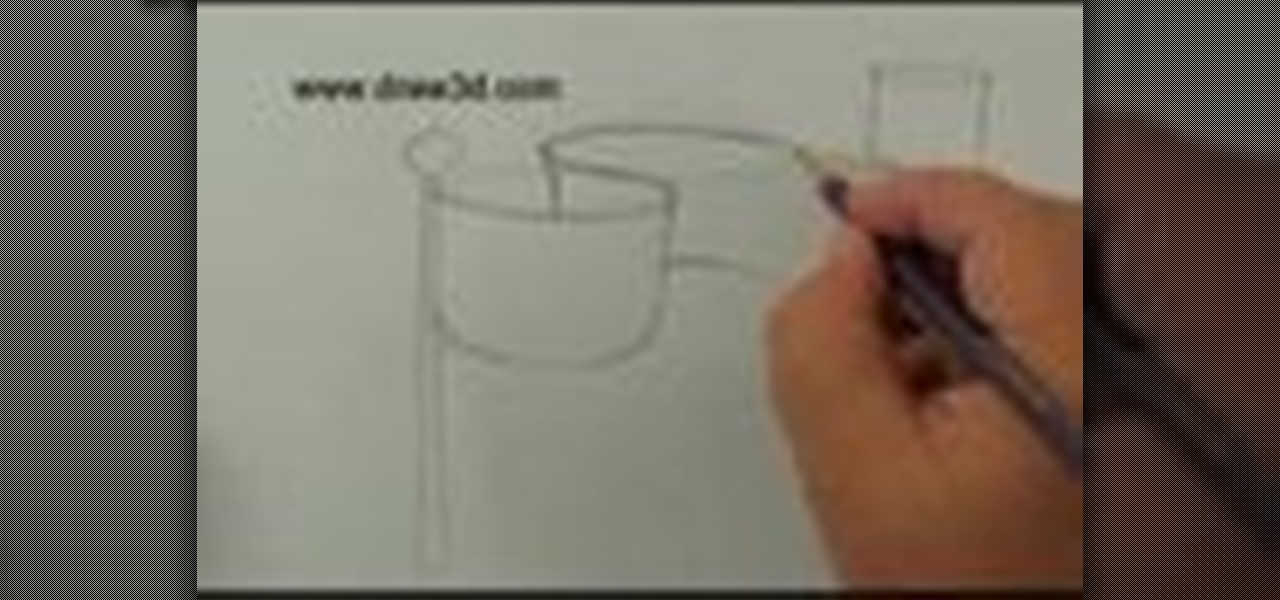
How To: Draw 3D wind flapping flags
Mark demonstrates how to draw flapping flags or scrolls. He starts with a paper in a binder but any paper will work. In this demonstration he uses a pencil to create his drawing but any pen or pencil will do. He draws the flagpole first starting on the left side of the page. He draws multiple circles creating cylinders that you may have learned how to draw in a previous lesion by Mark Kistler. He uses shading to create the effect of a curve and depth of the flag. He shows how to create the ef...
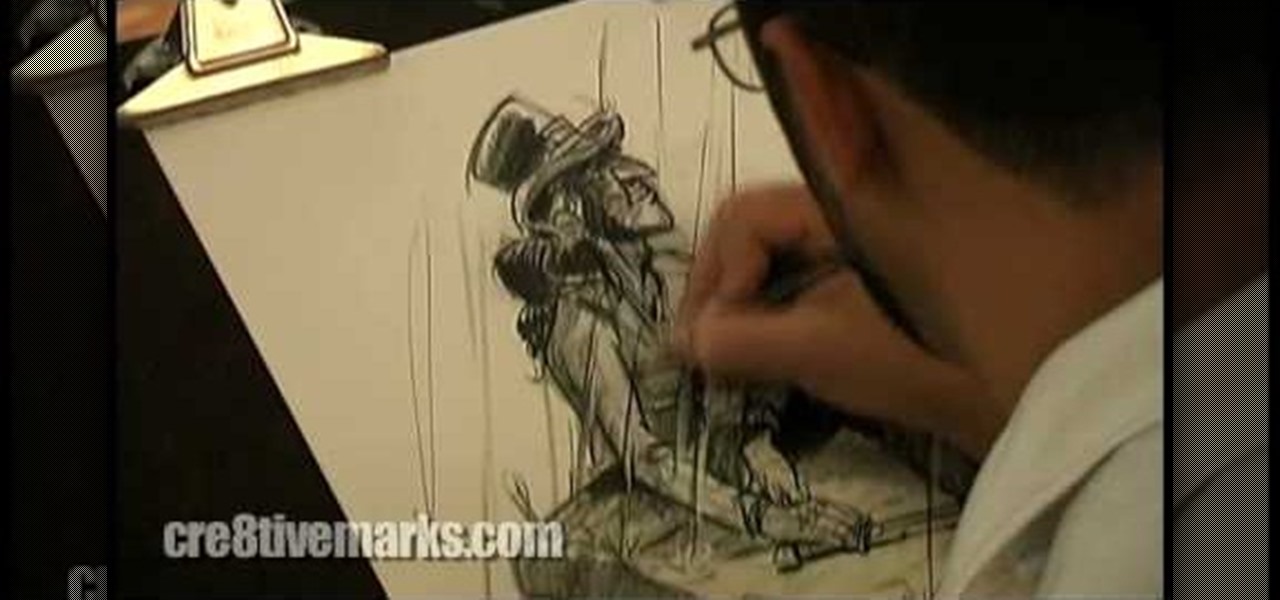
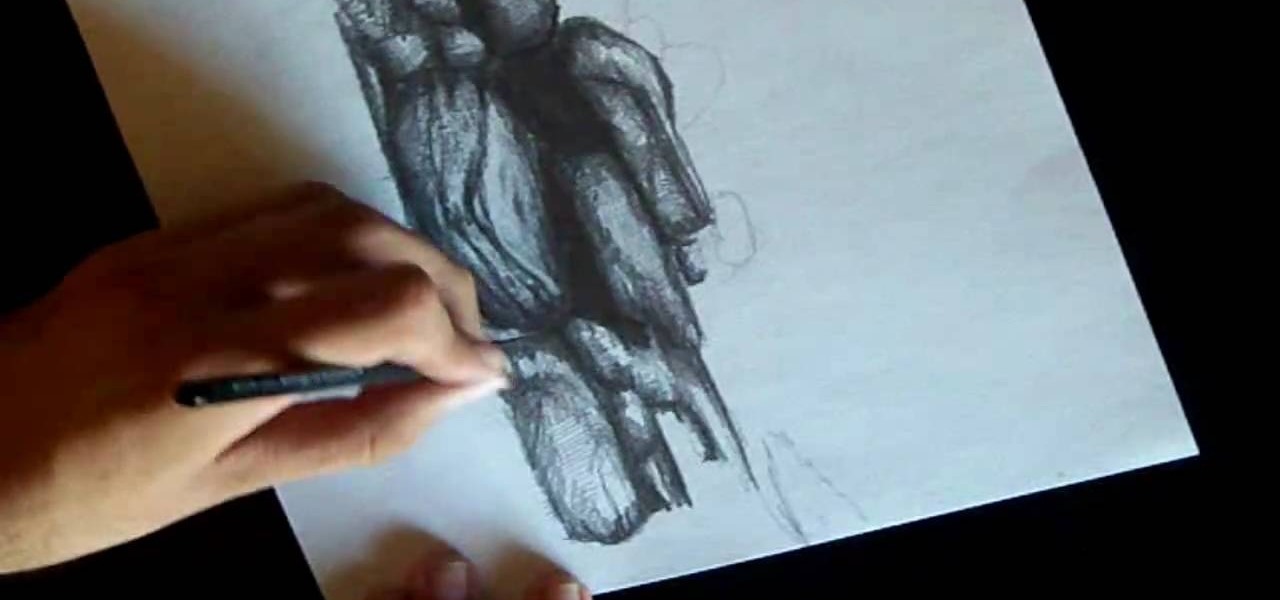
How To: Draw tonally
Mark McDonnell with The Art and Feel of Making It Real and Cre8tiveMarks demonstrates how to draw tonal sketches. Costume gesture drawing is a popular technique for artists in the animation and entertainment industries. Use a drawing pencil and a piece of drawing paper to do quick outline sketches of a subject. After the outline is created, fill in the detail and shading with the pencil. Fill in other parts of the drawing as necessary. Use other sketches for reference points on your drawing. ...

How To: Draw a super cute cartoon dog
This how to draw cartoons video shows how to draw a cartoon dog. Start off with the dog's head. Draw big ears, a little jagged at the bottom to show fur. Draw the top of the head, then a circle for the snout, and a nose on the end. Draw semicircles connected to the snout and draw dots inside for eyes. Draw a tongue hanging out, a neck, and a collar. Now draw the shoulders, and down to the front leg. This dog is sitting. Draw the body, then you can draw the back legs. Draw a pointed tail. Now ...

How To: Draw Toad from Mario Brothers with a Sharpie
This video illustrate us how to draw Toad from Mario Brothers with a sharpie. Here are the following steps:Step 1: Take a piece of paper and pencil and start by drawing a face. Draw two eyes and a tongue by drawing three circles.Step 2: Now from the down side of the face draw an oval egg shape structure bigger then the face ,this is the toads belly.Step 3: Draw two lines cutting half through the belly and without joining them with little space in between draw these line upwards.Step 4: Draw t...

How To: Draw a wintery snowflake with Mr. G
In this video, Mr. G demonstrates how to draw a wintery snowflake. You will need a plain pencil, or a blue and black colored pencil for this drawing. Start by writing your name and the date on a white sheet of paper. Then, begin lightly drawing the base of your snowflake. After you have drawn your base, Mr. G will show you how to make the lines darker to form the shape of your snowflake. Then, you will learn how to detail your snowflake by drawing small triangles inside the basic shape that y...
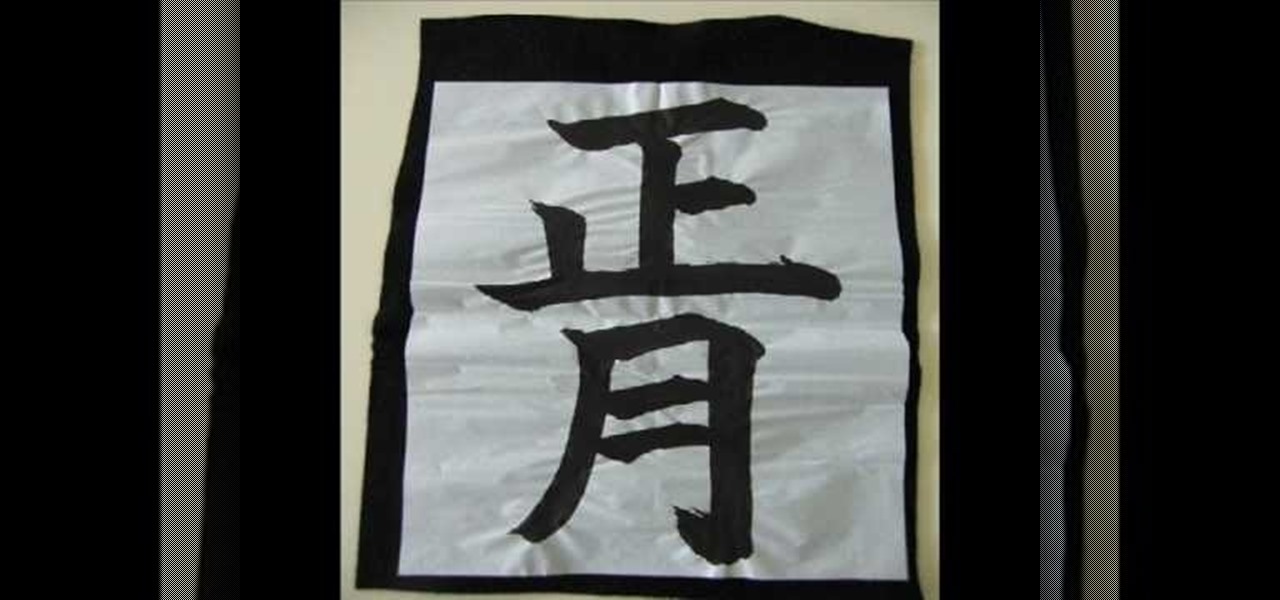
How To: Write with a brush in Japanese calligraphy
Maki and Miho demonstrate how to write with a Japanese calligraphy brush. To write with a Japanese calligraphy brush, first position the paper to the left side of the brush with the ink on the right side of the paper. Rub the ink stick in the ink well with a little water. Then, soak the brush in the ink. To write Japanese characters, be sure to make the strokes in the correct order. Also, write slowly or your characters will not come out well. Use a long, flat paperweight to hold the paper in...
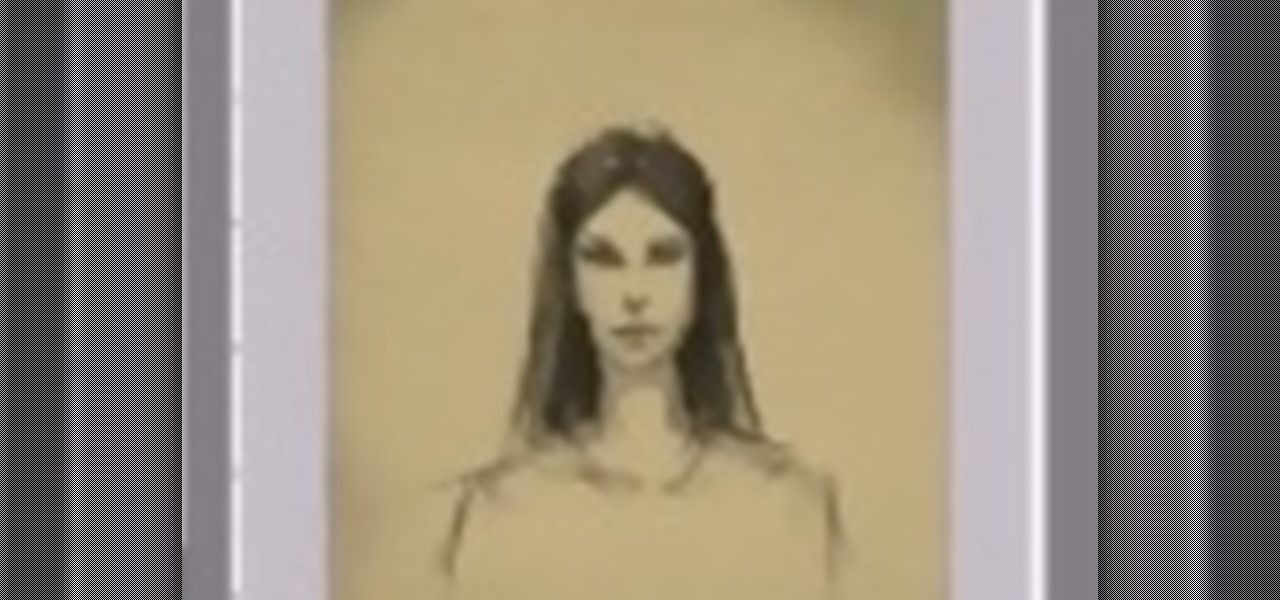
How To: Draw a realistic looking woman's face
This video will show you how to make a realistic drawing of a woman's face. Start with an circle for the head shape, establish the eye line which is usually at the halfway point. The nose is one fourth of the distance between the eyes and the chin, and the mouth is halfway between the eyes and chin. Draw in the facial features and add shadows. Draw the neck and shoulders at the same time. After you have the whole head and shoulders drawn, fill in more shadows on the entire drawing, and fill i...
How To: Draw dynamite
First of all use a grey color shade to draw the outline sketch of the figure. First draw the trapezium in the front. Now draw a rectangle at the side of the trapezium. Make a flat top to the figure. From the middle of the trapezium draw a string protruding downwards. Now divide the figure into three equal sections. Now you have to darken sections on the rectangular side. Draw the vertical lines of the rectangular side curved outwards at the far end. At the front end of the rectangular side ma...
How To: Draw 3D letters (A through L)
This is an upbeat fun video on how to draw 3D letters; and shows in detail how to draw them from A through L. Start out with a pencil drawing of the letter to make sure it looks how you want it, as you can always erase any mistakes. Then, using a black marker pen, trace over the pencil lines of the letter, then using a gray marker, fill in the 3D depth of the letter, leaving the face of the letter clear. This gives a nice 'cartoon' like effect, which looks great. Watch the second video to lea...
How To: Draw the Incredible Hulk
This video illustrate us how to draw the incredible hulk. Here are the following steps:Step 1: First of all take a sheet of paper, pencil and pencil color.Step 2: Now draw a square with round edges representing the face of the hulk. Within the face draw eyes and a big mouth and hairy eyebrows.Step 3: Now from the bottom of the circle draw an oval with wavy structure on it showing the six-pack abs of the hulk.Step 4: Now from the down side of the abdomen extend two legs with muscular legs and ...

How To: Draw a dead fox
You need a pen and a white sheet of paper. First of all start by drawing the outline of the head of the fox. Now you have to draw the outline of the grass on which the fox head is resting. Make many cross lines inside the grass outline to indicate grass. Now draw the neck and the ear of the fox. Also draw the grass surrounding the head of the fox. Now sketch the body line of the fox. Make cross lines on the body of the fox. Draw the front legs of the fox. Draw the grass outside the fox’s body...

How To: Draw Fierce Deity Link
Basic bust drawing : Starting with the standard ball and crossed lines for the face. The artist fleshes out the chin before moving onto the eyes, giving them the general feel of the face. The nose and mouth follow suite. The tribal marking on the characters face are added next and shaded darkly.
How To: Draw realistic looking people from stick figures
You see people every day, but for some reason drawing them is always so difficult. Have a look at this tutorial for tips on how to draw very easy people. This video is meant for beginners and will show you how to turn a simple stick figure into a lifelike drawing of a person.

How To: Draw a realistic looking dragon
Dragons are very popular storybook characters, especially with the release of "How to Train your Dragon" in movie theatres. Check out this tutorial and learn how to draw your very own fire-breathing buddy!
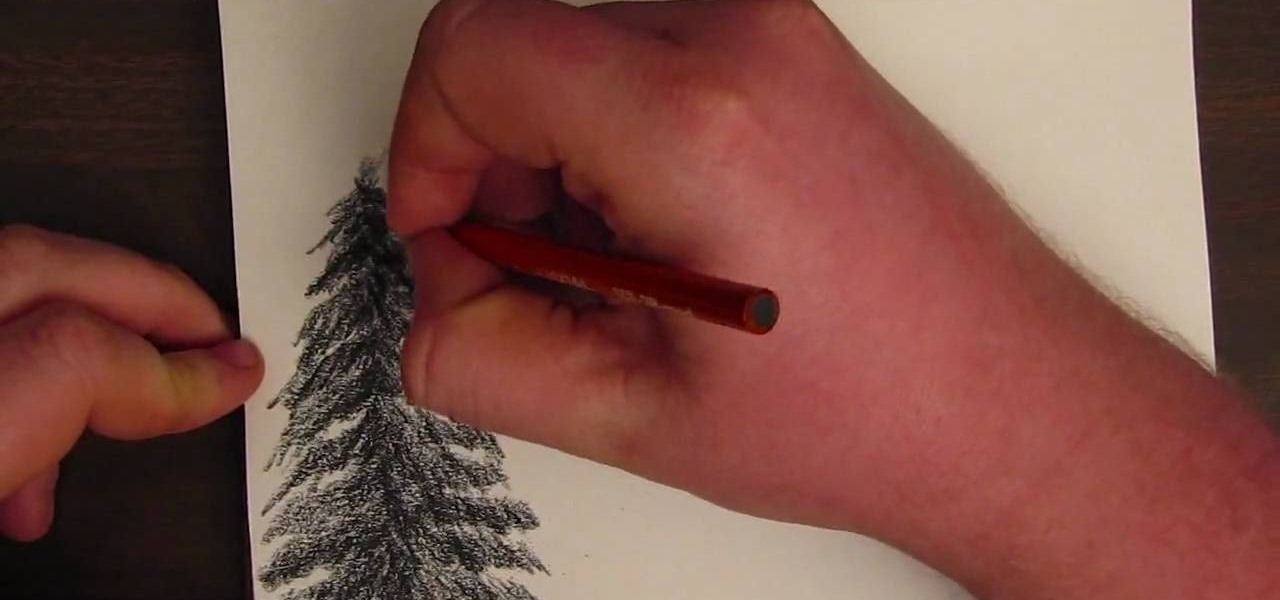
How To: Draw trees using a charcoal pencil
A pine tree is an excellent addition to landscape renderings. This video demonstrates how to draw stylized pine trees using a basic charcoal pencil. First start with the frame or trunk of the tree, then add slight branches. Using your charcoal pencil, shade in the branches with careful strokes to represent pine needles.
How To: Draw a moonlit waterfall with a graphite pencil
This video tutorial shows how to draw a serene waterfall setting using graphite pencil. First start by collecting reference images for the seperate components of the landscape. Next add in the rocks and erase the areas where water will be. Then draw the sky making sure to leave an area open for the moon. Finally add the trees and shade in the water to create a liquid effect.
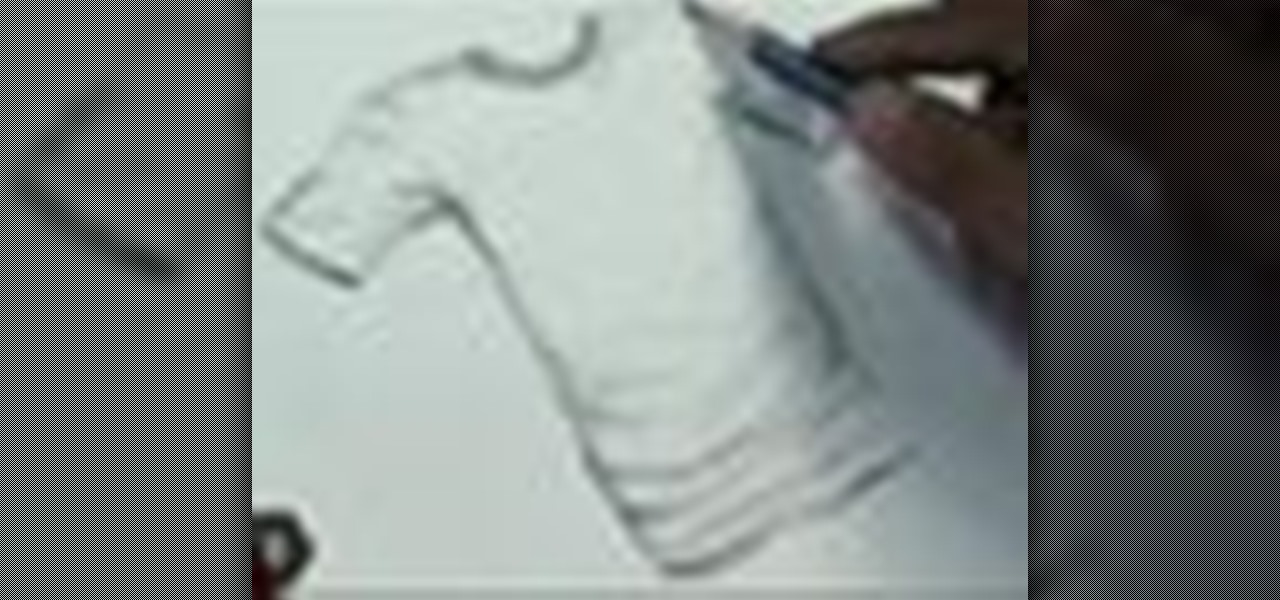
How To: Draw realistic looking clothing
After you start drawing people, you will undoubtedly want to dress them. Drawing clothing is all about knowing how clothes fall, fold and wrinkle. Check out this tutorial, and you will be drawing realistic folks in no time.
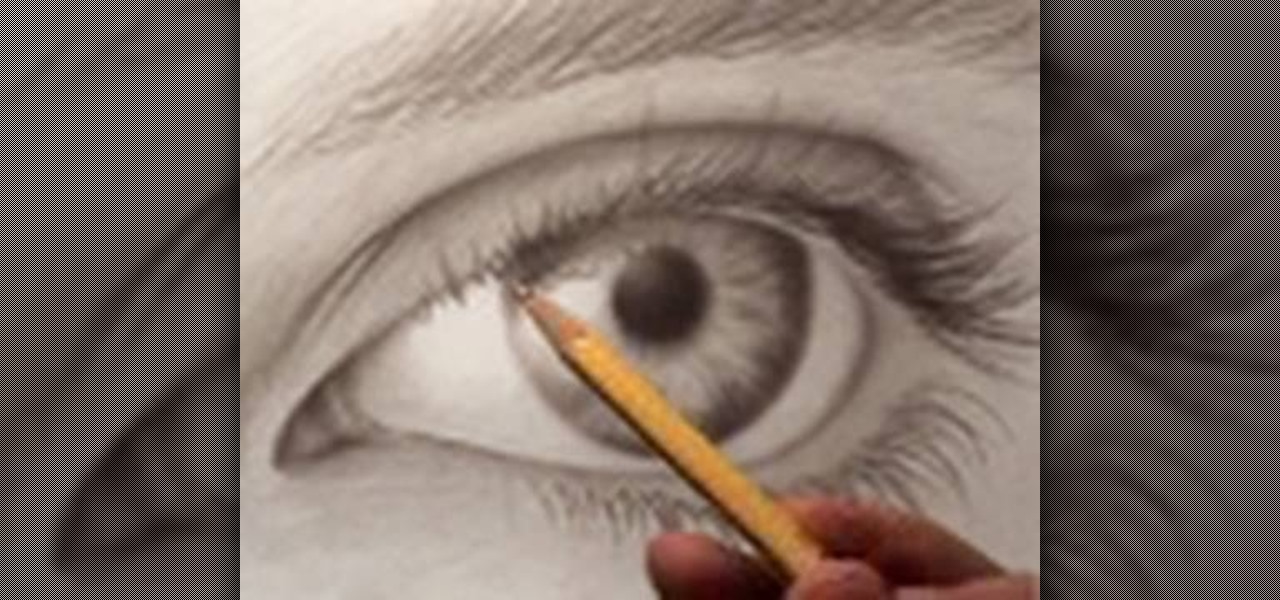
How To: Draw a photorealistic eye with Mark Criley
This excellent, extensive video truly takes you step by step on how to achieve the most realistic possible eye when drawing. With instructions on proper shading, pencil placement artist Mark Criley shows you everything you need to know.
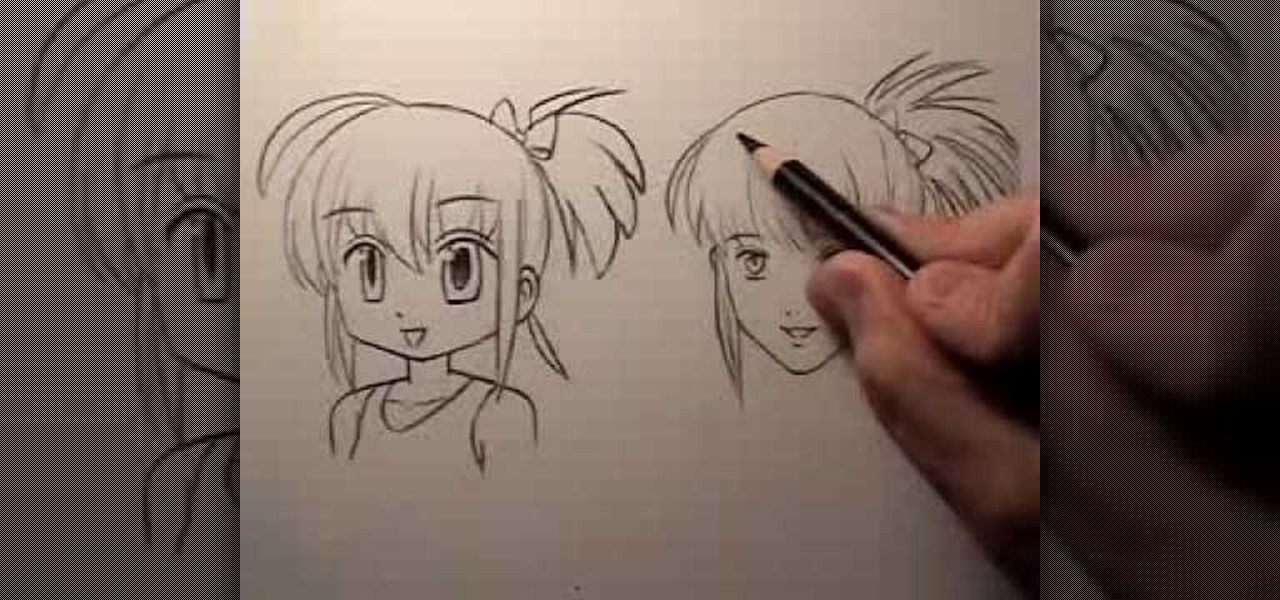
How To: Draw a cartoon vs. a realistic manga face
In this video you'll learn the difference of drawing a cartoon like and realistic manga face. Here, you'll be able to learn the difference of a cartoony face versus a realistic. Ultimately, it's up to you, the artist on what look you want your manga to have.
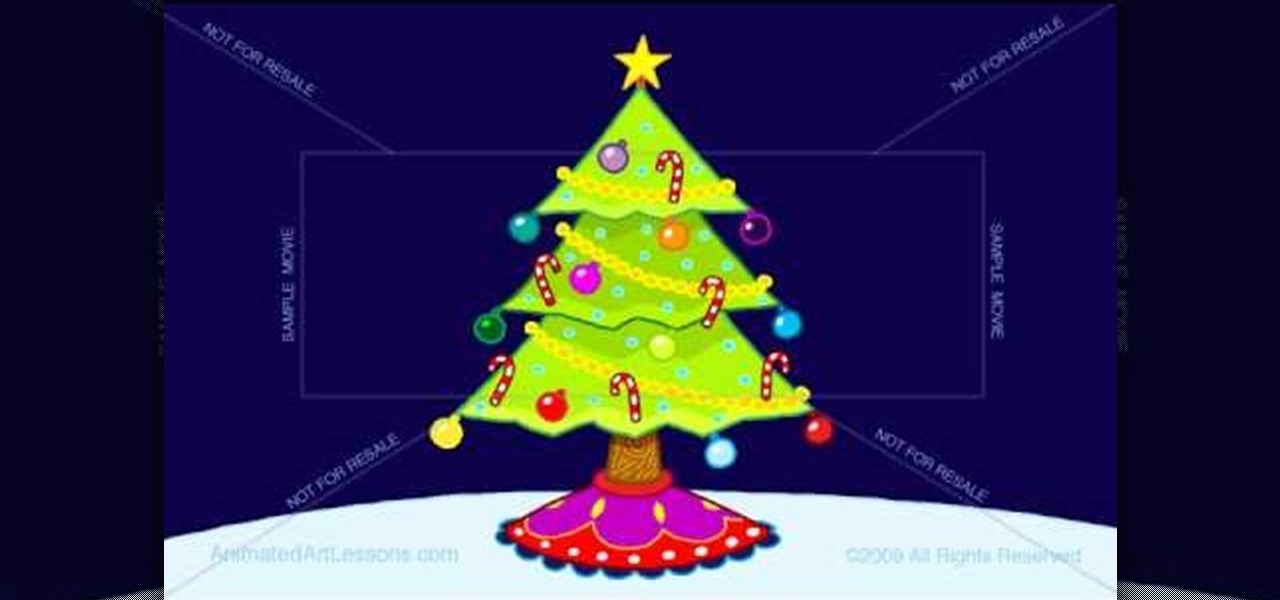
How To: Draw a fun Christmas tree
Start by drawing a triangle at the top of the tree. This will act as your first part of your tree. Then draw the second part of the tree. To do so draw another triangle that is bigger than the first. Then you will need to draw a third and final triangle for the bottom of your tree. Make sure that this triangle is bigger than your first and second triangles. Make the bases of the triangles wavy so that they resemble branches. Add the base by adding a small rectangle and a circle for the stand....

How To: Draw a bat
Shoo Rayner demonstrates how to draw a realistic bat that can be scary, funny, or friendly for children's books. You will need a pencil, pen, and eraser to help you achieve texture. With a light pencil sketch, draw a round head and an oval body. But don't worry too much about accuracy, because there are many types of bats that look different from each other. Your bat needs large ears, a tail, a short forearm and a long upper arm. But most of the bat's wing is its three fingers and a thumb. Th...
How To: Draw a Teenage Mutant Ninja Turtle in detail
Wondering how to cartoon like a pro? Well, this two part tutorial is a great place to start. In this video series, learn how to draw a Teenage Mutant Ninja Turtle, in detail, and soon you'll be on your way to drawing your very own characters!

How To: Draw Goku in MS Paint
The video demonstrates how to draw Goku in MS Paint. The whole picture is drawn using the curved lines. First the jaw part of the face is drawn and then the back ground of the face. After this the hair is drawn, it is drawn like many big leaves which are separated with vein in the center. The ear is drawn after that, which is seen in between the hair. The nose, eyes and the brows are completed next. A pointed nose is drawn. The picture is completed by drawing neck and the gown. Goku's back si...

How To: Make your own comic book or manga book
An unknown individual demonstrates in this video how he makes a comic book. He shows the materials that are needed, which are plain white paper and tape. You then fold the paper very neatly in half length wise one sheet at a time. Then you put all the papers together as neatly as possible. Next, you take a piece of clear tape, tear it in half and place one piece on the inside bottom fold then fold it over to the front. You do the same thing with the second piece of tape at the top fold. Final...
How To: Draw simple and beautiful manga hair
This is a great tutorial on drawing manga hair. Pay attention to the tips and tricks at the beginning, especially about the lack of detail in the hair in order to fit in with the anime and manga style.

How To: Draw a detailed, cartoon dog
In this in depth, four part series learn how to draw a cartoon dog. The adorable puppy you will be learning to draw is top notch and would fit in nicely in any children's book or comic strip.
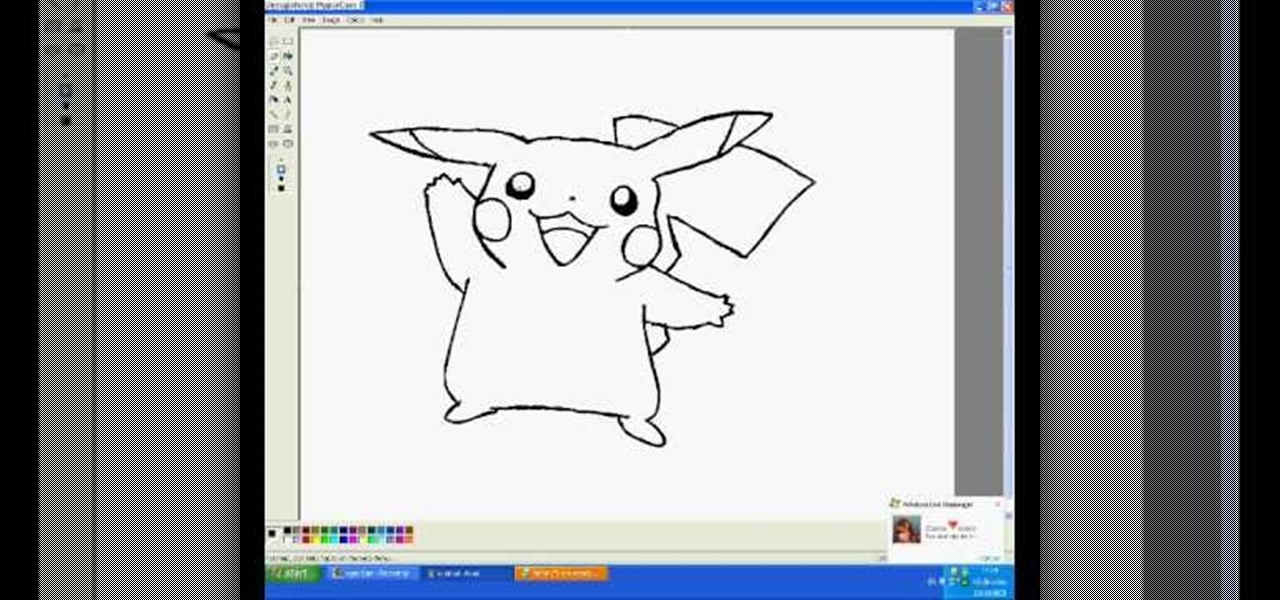
How To: Draw Pikachu in MS Paint
Have you ever wanted to draw Pikachu is MS paint? Well, this video will show you exactly how to do it! The eyes are first. Then, a great big grin. Next, the complicated contours of his face, followed by his long floppy ears. He adds a few details to the face, including the patches on his cheeks. Then, he adds his chubby little arms. He draws the squarish body and his feet. He adds a tail. Then, he does some touch-up work. Last, he starts on color, paying close to detail. He adds some shadows ...
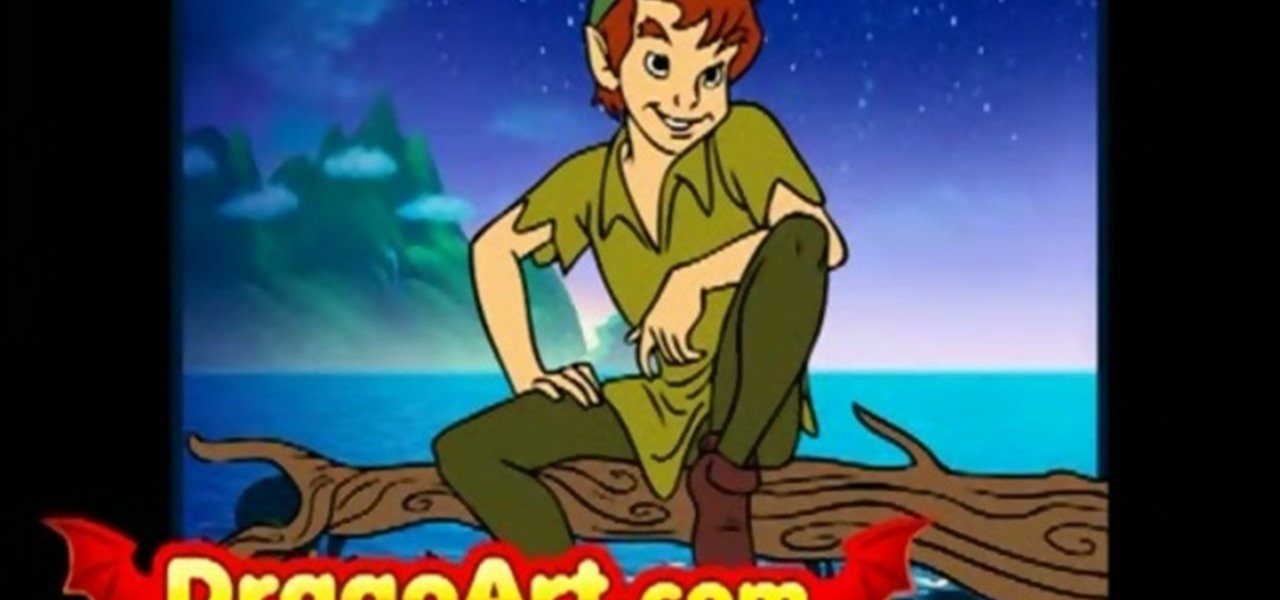
How To: Draw Peter Pan step by step
This video shows you how to draw peter pan step by step. The instructor begins the video by having a preset outline to follow that must be copied to understand how the character will be formed correctly. The face is the first object placed on the outline followed by the shoulders and then legs. After this step the picture will appear completed and colored in leaving the student to have to pause the video and follow the lines carefully with much reflection and reviewing. The coloring for this ...
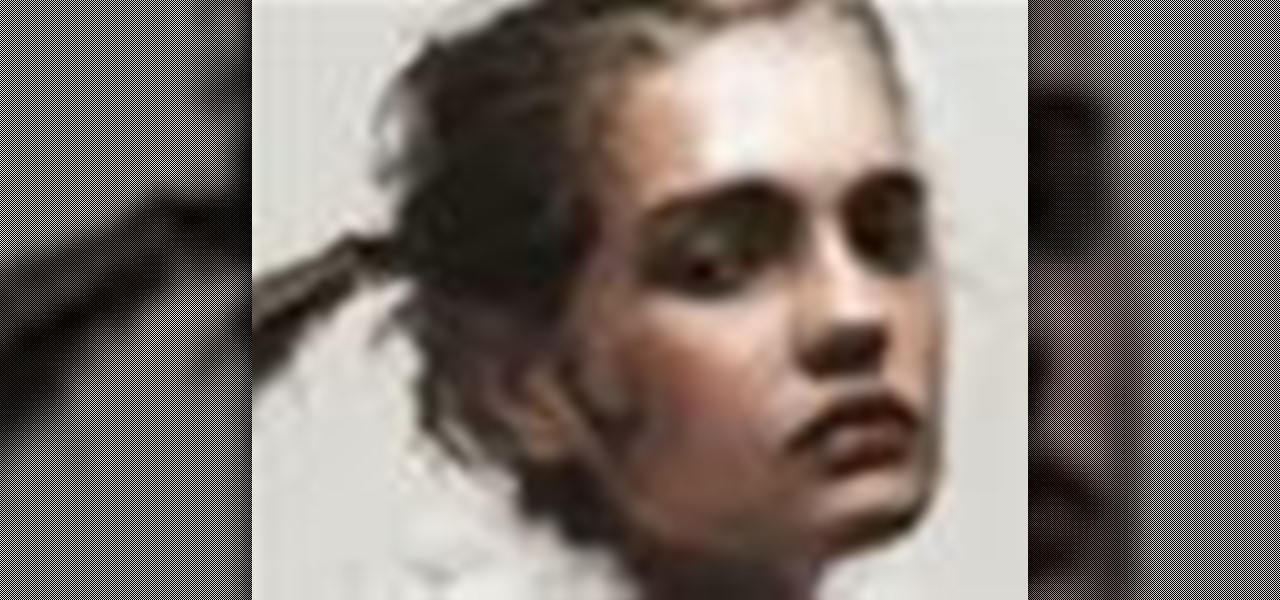
How To: Draw a realistic female portrait
The artist begins by sketching house the outline of the face and body using a pencil. Then he begins to form the eyes, nose, hair and ears, and applies a gray mask to the face which is then covered by the tan coloring of the woman. The lower body is applied with a lighter mask which is converted to the white furry coating of the coat. The drawing is then smoothened out showing us the main features of the realistic woman. Using the software and computer graphics that he uses, the hair, eyes, a...
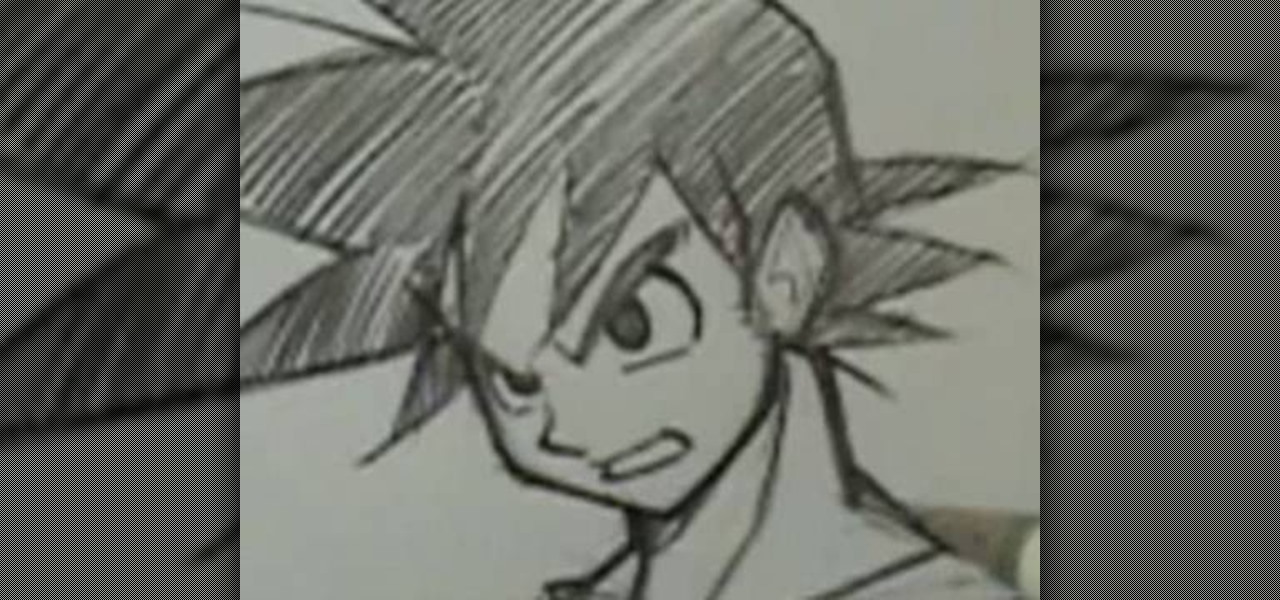
How To: Draw the character Goku from Dragonball Z
Robert Dejesus demonstrates how to easily draw the picture of Goku in (Dragonball Z) by simply using a pencil This demonstration is created with beginners in mind and also to inspire children to take up drawing. First of all, a thinner, rough profile of the figure is drawn and then followed by thicker shade. The head is drawn from a circle and mended to its real profile as the face begin to appear and the hair is drawn and followed by the neck and torso and the shading is given to highlight t...

How To: Draw a cartoon wiener dog
Not a very good artist? Well Joe makes it simple for anyone to create a great looking wiener dog! First he starts with the eyes. He draws two large circles then adds the dots for eyes. Joe gives them a little personality by making the eyes a little cross eyed. He next moves down to the nose where he draws a small round circle and fills it in. Next he follows his way down and creates the long body for the dog. He even includes realistic aspects such as eyebrows and a smiling mouth. Learn from ...

How To: Draw Yoko Ritona from Gurren Lagann
Daisuke 18 demonstrates how to draw Yoko Ritona from anime series Gurren Lagann. To begin with one side of the face is drawn with a pointed chin. A flip of hair is drawn next, which is falling over one eye. Next the artist draws most part of the hair, a waitress’s hat and some decoration on the hair. A puff sleeve for the blouse is drawn next. Next she draws the cleavages and goes to complete the hat with some chop sticks on it. Then she completes the blouse. One hand is drawn with a wrist la...

How To: Draw a downhill skiing penguin
This video details how to draw a penguin that is skiing downhill. You start off by drawing the eyes in an oval shape, and drawing a line cutting them in half for the eyelids. Don't forget dots for eyes! Following that, you draw the penguin's mouth and the top half of the body, including the flipper. You will next draw the ski poles and the lower half of the body. Of course, in order to ski the penguin will need two feet, and two skis so you should probably draw those too. You can now add deta...
How To: Draw an emo chibi character
Sasukeisahotie shows you how to draw an Emo Chibi. Start by drawing a prominently spiky, asymmetrical, "emo" haircut, wider than tall. Then draw a line making the outline of the face from the right bottom of the haircut, to the left clump of hair, again this should be wide. Draw one eye on the face (where the other eye is, it should be hidden underneath hair). Draw in the shirt/jacket/top half of the character underneath the head, but make this smaller than the head. Decorate the shirt with s...
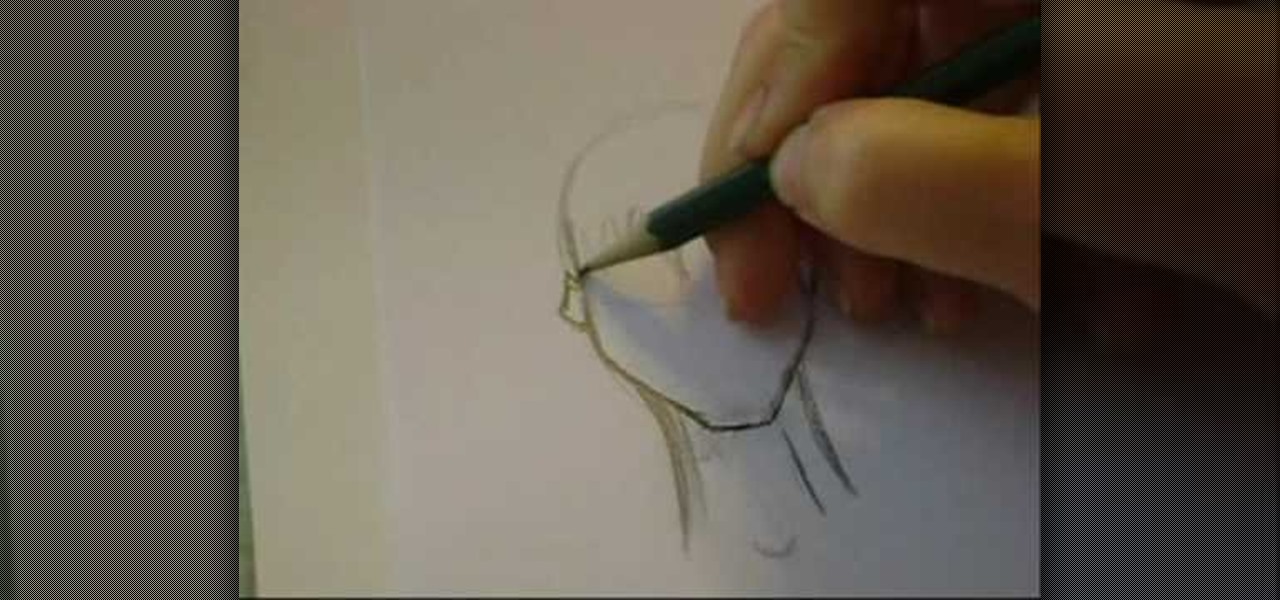
How To: Draw a person's face from the front
TVLessonDotCom teaches you how to draw a person's face from the front. Start with a basic oval shape. You can do this part in pencil and then erase it. Use a vertical cross line and a horizontal one. Add two more horizontal ones to break the face into sections: hairline, eyes, nose and mouth and then chin. The eyes are small oval shapes. You can also create a small circle in the middle and then eyebrows. Draw the nose next and then add the mouth. Everything must be in proportion, so the verti...