

Drawing & Illustration How-Tos


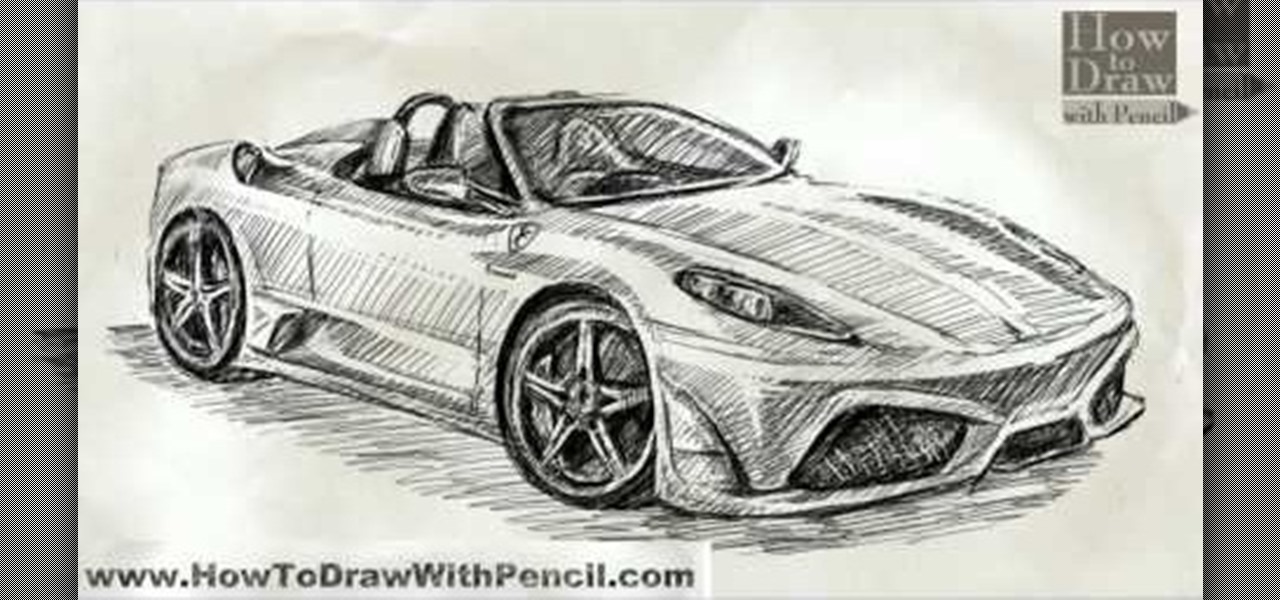
How To: Draw a Ferrari Scuderia Spider 16M
In this tutorial, we learn how to draw a Ferrari Scuderia Spider 16M. Start out by drawing the outline of the vehicle. Make sure you draw in the areas for the tires and the windshield, as well as the other areas of the car. After this, add in shading around the car on all of the sides. Next, start to draw in the details around all of the car. Add in shading and additional lines to make it look more realistic. After this, you will need to use the eraser to erase any unwanted lines that don't b...
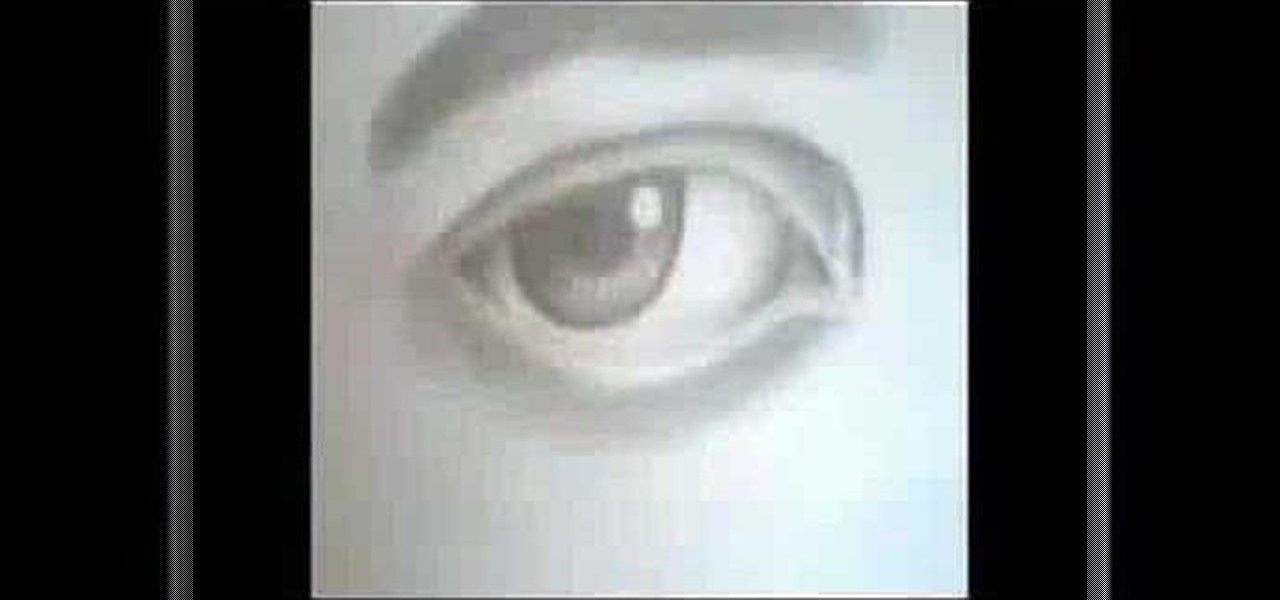
How To: Draw a perfect eye
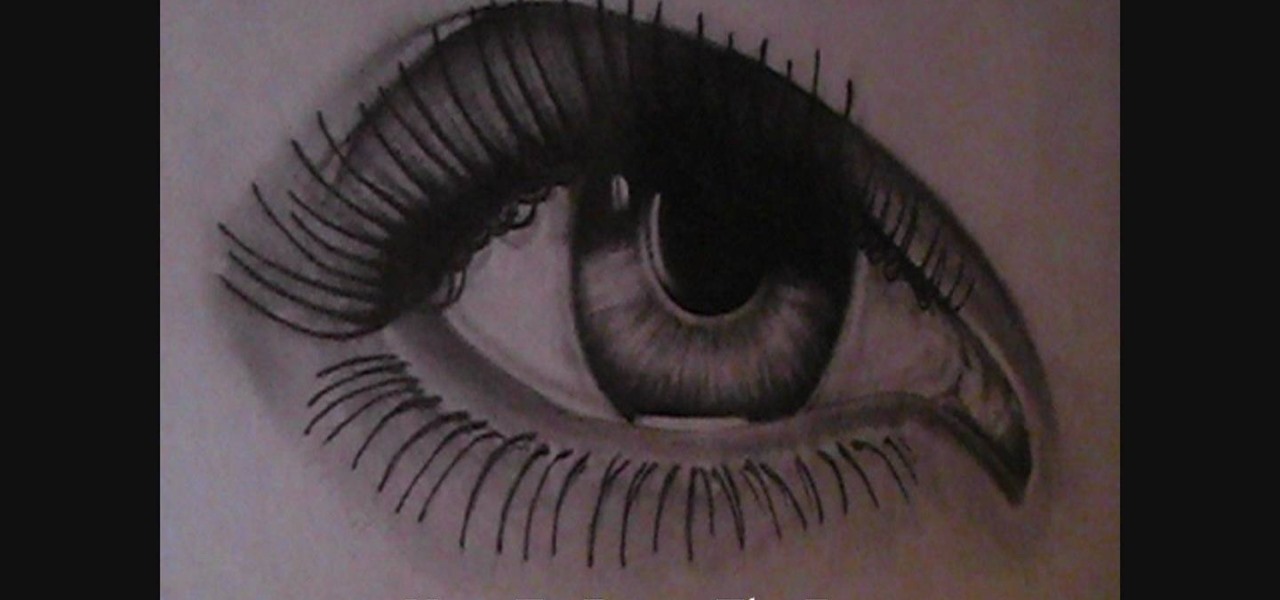
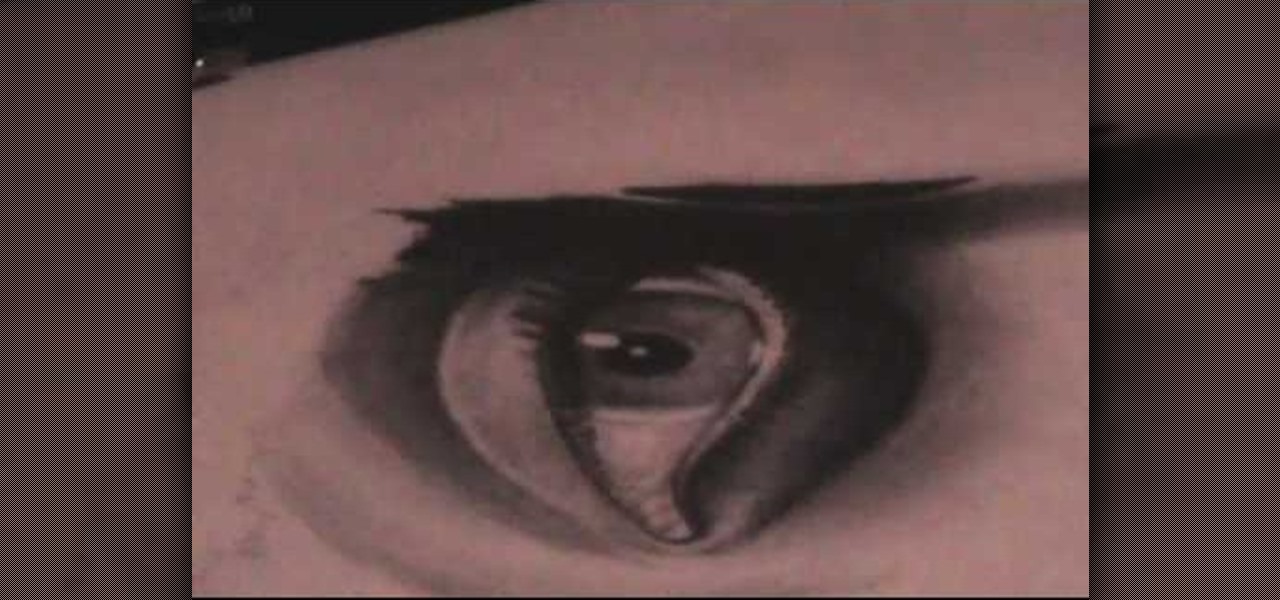
In this video, we learn how to draw a perfect eye. Start out by drawing the outline of the eye, the create the basic shape. After this, draw the crease above the eye and then the inside details of the eye. Darken the pupil, then add in lines around the pupil to show detail. Create a circle eraser mark near the pupil to show the eye having a glare, making it look more glossy. After this, shade in the sides of the eye and underneath where the bottom lash line is. From here, create the eyebrow a...
How To: Draw an eye
In this tutorial, we learn how to draw an eye. Start out by drawing the outline of the eye, which should be in a football shape. Then, draw the inside of the eye and the outside of it as well. Then, you will start to add in additional details around the eye and the eyelashes. After this, add in the crosshatch inside the eyes and shade in the pupils. Shade around the outside of the eye, then add darker lines for the eyelashes on both the top and the bottom. Add a crease in the eye to make it l...
How To: Draw a Harley-Davidson V-ROD
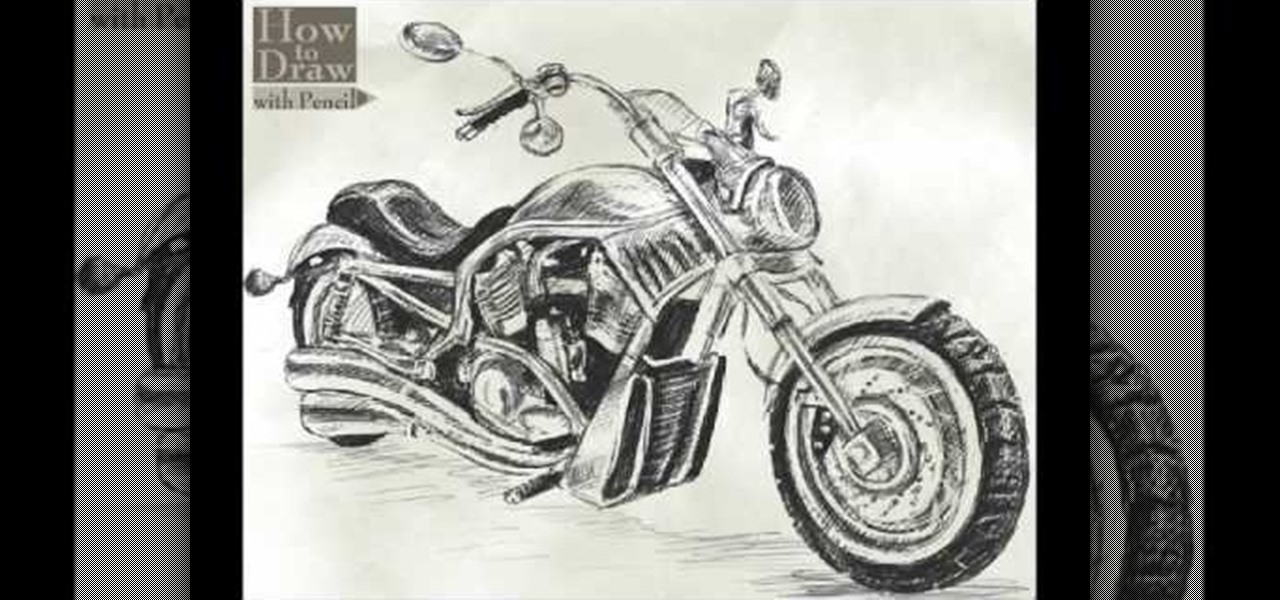
In this video, we learn how to draw a Harley-Davidson V-ROD. First, draw the outline of the vehicle using a light pencil. After this, start to add in the details of the wheel and front of the motorcycle. From here, add in shading and additional details to make it look more realistic. Make sure you draw on the small details of the motorcycle because this will make all the difference. Shade in additional details on the drawing and then erase any lines that you don't need. Use the eraser to crea...

How To: Draw an eye step by step
In this video, we learn how to draw an eye step by step. First, draw the curve of the eye on the top and on the bottom. Then, draw in the pupil of the eye and the inner corner of the eye. Use a light touch with the pencil to make the circle in the middle of the eye. Then, draw around it with a bolder line. After this, draw the crease above the eye, then draw shading to show where the crease line is. Next, fill in the pupil and add in a circle to make the eye appear glossy or that light is hit...

How To: Draw a KTM X-BOW "ROC" car
In this video we learn how to draw a KTM X-BOW "ROC" car. Start out drawing the outline of the car, adding in the details for all the areas. After this, shade in around the tires and on the hood, back, front, and sides of the car as well. Then, add in dark shading to the areas that you originally shaded. Fill them in completely so it's black, then use the eraser to crease a highlight on the different areas of the car. When finished with adding details, you will have a great drawing of a uniqu...

How To: Draw eyebrows and eye lashes
In this tutorial, we learn how to draw eyebrows and eye lashes. First, sketch out the basic shape of the eyebrow. Cross edge with a 2B pencil, then blend it in to lighten in and act as a skin tone. Then, draw the actual hair with a B pencil, going upwards with the pencil strokes in the front area. For eyelashes, you will sketch out the outline with a 2H, then draw the eyelid and the hairs for the lashes. Draw in the direction and the shape of the eye to give off the illusion that it's round. ...
How To: Draw a tree branch
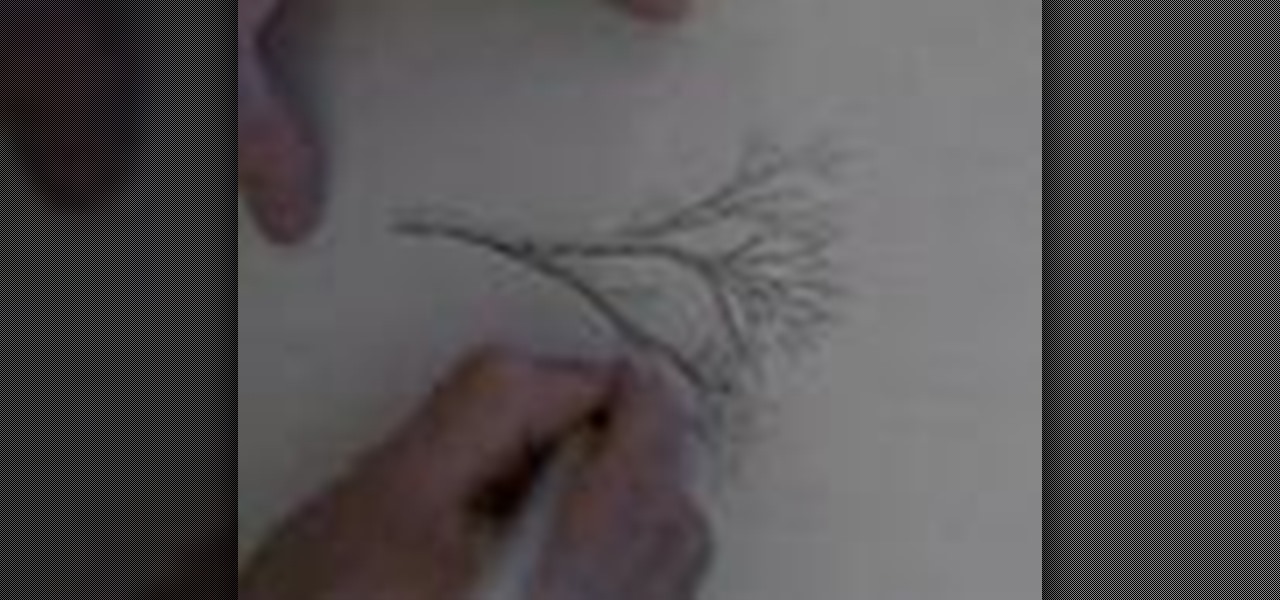
In this tutorial, we learn how to draw a tree branch. Start out drawing two lines for the trunk of the tree. Work these lines up until you reach the top where the branches are located. Then, draw outward lines that will be the branches. Do not make all of them the same size. You want this to look realistic, so make them all vary in size. Draw small lines at the tip of every branch to make it look like wood coming off of them. When finished, add in lines along the branches to show bark on them...
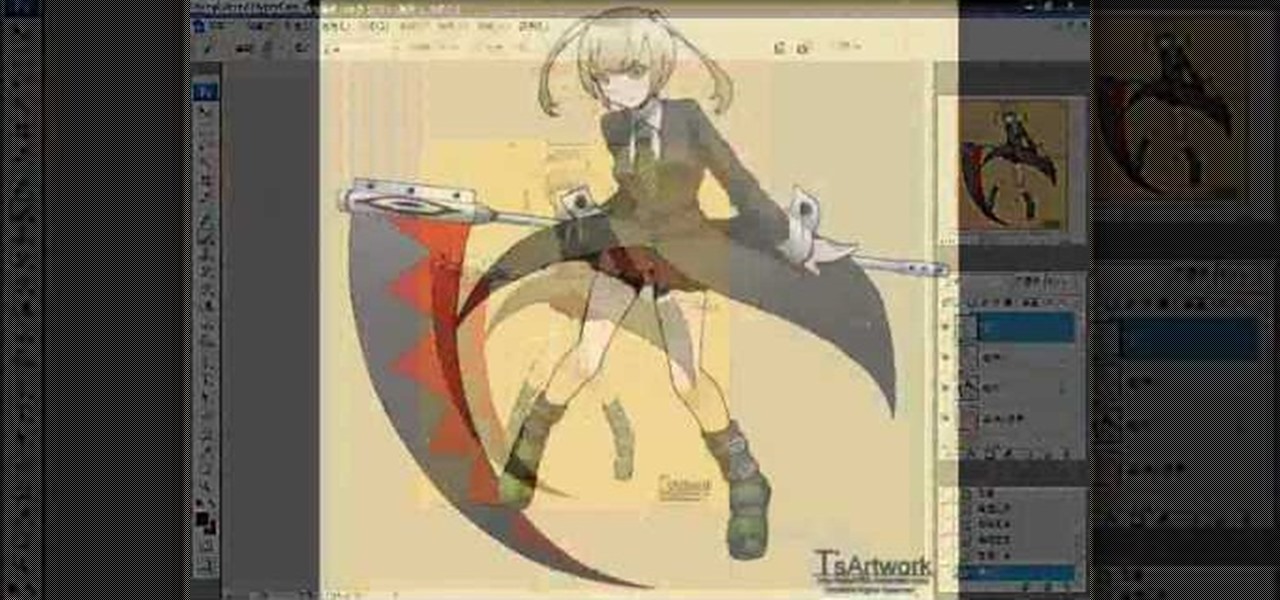
How To: Color manga
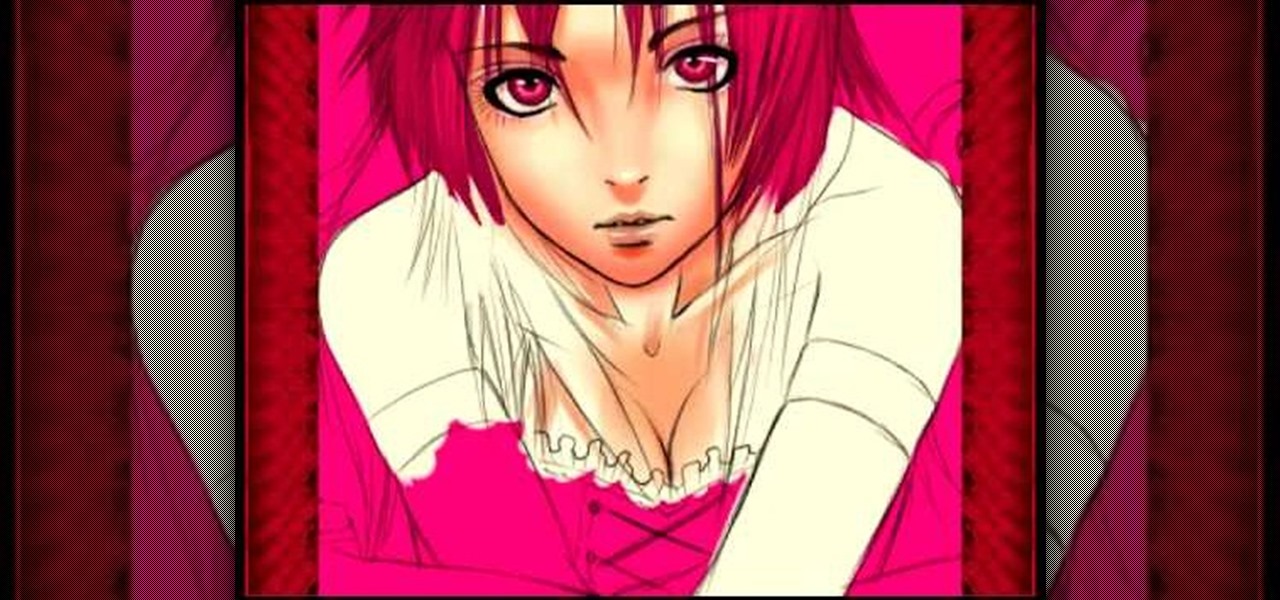
In this video we learn how to color manga. For the girl, start by coloring the entire drawing pink. Then, remove the color from the face and add in shadowing and colors for the lips and eyes. Then, color in the color of the face and the hair as well. Color in the skin color and draw in black lines to show where the contours of the body are at. Color in the shirt pink with black lines to show where it's being laced up at. Darken up any of the features of the face, then save this to finish.

How To: Draw a nose using simple methods
In this video we learn how to draw a nose using simple methods. Use a grid to start sketching out your drawing. Note the dark and light areas by outlining them on your paper. Then, crosshatch the first layer using whichever method works the best for you. Then, use a tissue to blend the pencil marks in with each other and create a lighter shade. Grab your darker pencil and mark on the darker areas of the nose, then start to shade in darker then before. To finish, use your pencil to add in the ...
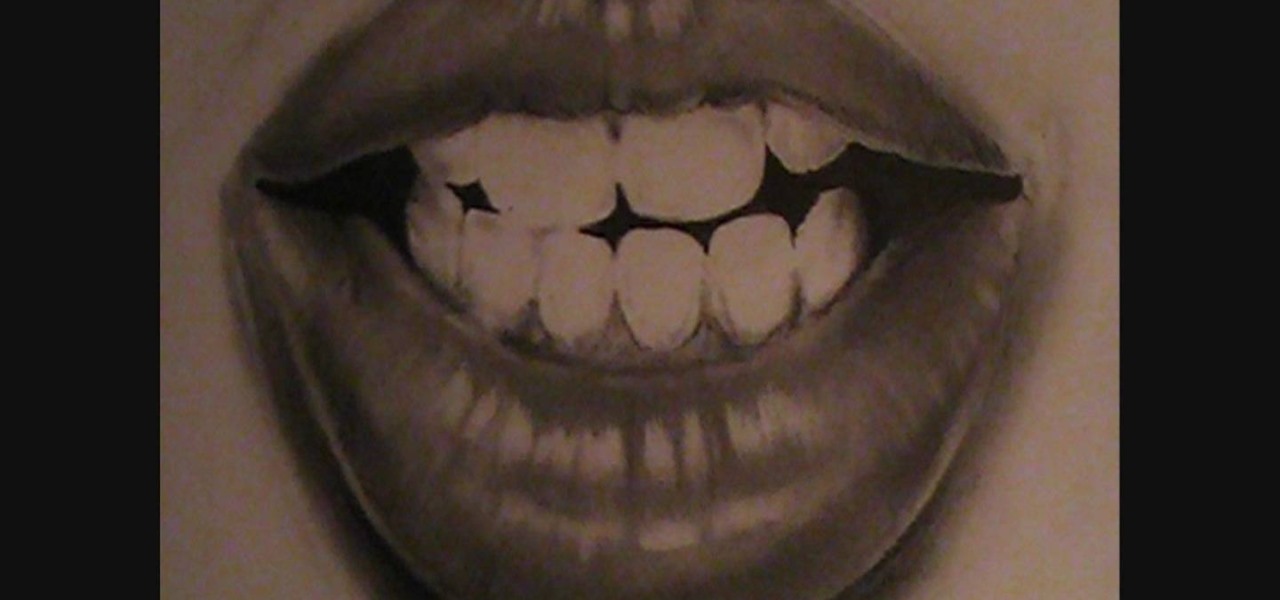
How To: Draw lips and teeth
In this tutorial, we learn how to draw lips and teeth. First, you will need to draw the sketch or outline of the picture. You will need to make sure you take your time to create realistic lines for the lips and the teeth as well. From here, you will add in more lines on the lips to make it look more realistic. Then, add in the teeth in the middle of the lips and shade in the areas that are in between them. When you are finished with this you can add in more shading and lines into this and you...

How To: Draw eyes with pencil
In this tutorial, we learn how to draw eyes with a pencil. First, draw the outline of the eye, giving it an almond type of shape. From here, you will add in the lines to the eyes and shade it in to make it look more realistic. Add in the crease above and below the eye, then draw another line on the bottom for the lash line. Then, darken in the areas around the eyes, then add in the lashes to the top and the bottom of the eyes. Shade in the pupil, then use lines to create a more realistic insi...
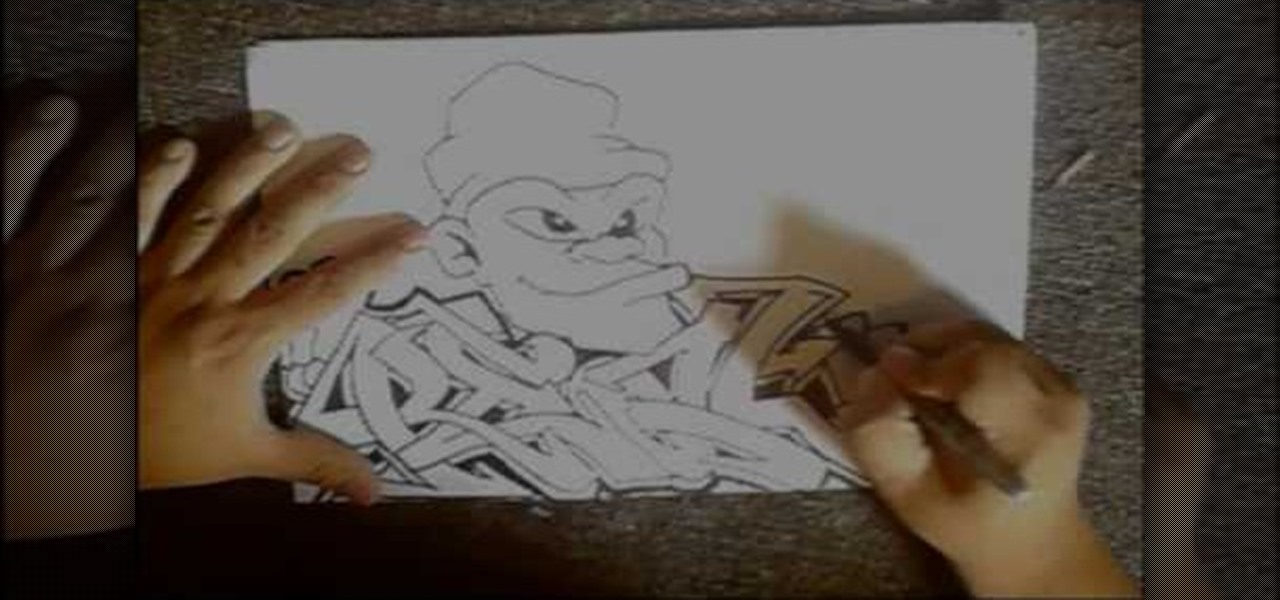
How To: Draw graffiti in pencil
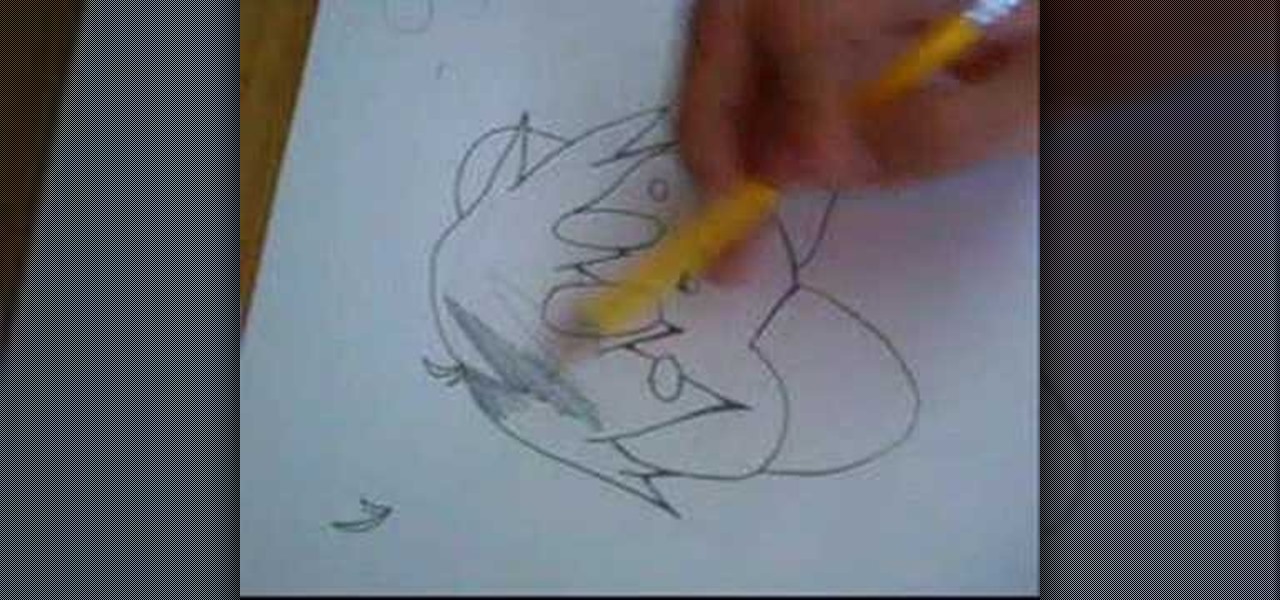
In this tutorial, we learn how to draw graffiti in pencil. Start out with a white piece of paper and a pencil. Then, draw your character's face, adding in the details of the face and the features of the face. Underneath this, shape out your letters that you want to write out. Cross the letters together, and make sure they are all touching each other. Shade in the areas next to the letters and add in lines and darker edges to the sides of them as well. Add in black in between each of the lette...

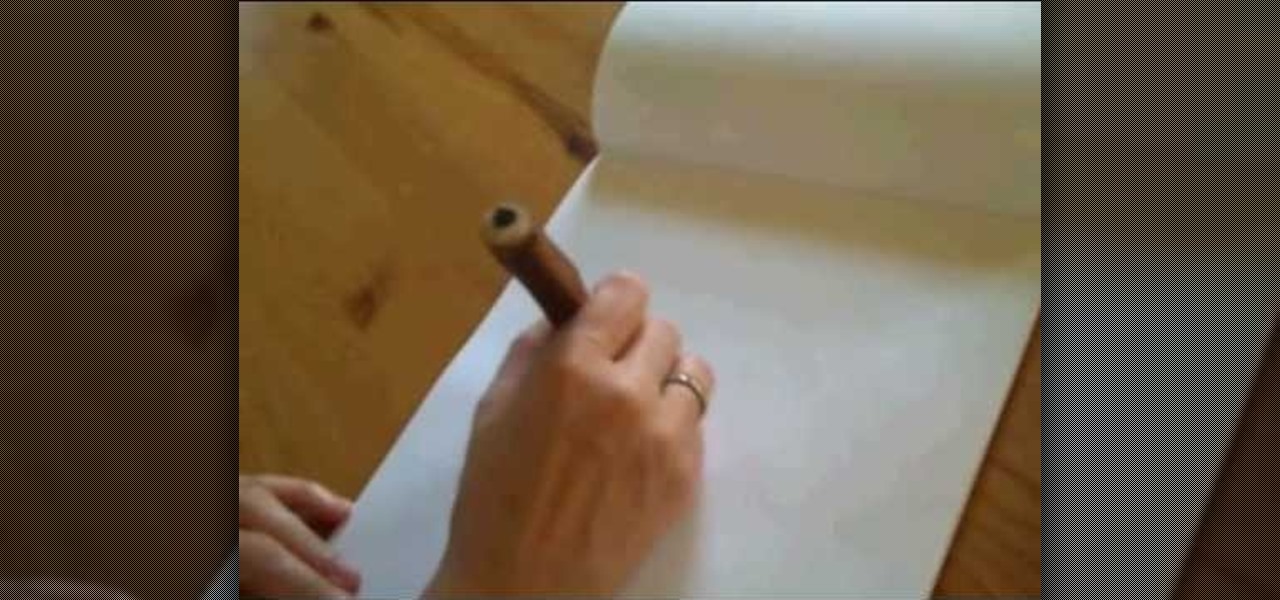
How To: Start a drawing with an outline
In this tutorial, we learn how to start a drawing with an outline. For your outline, you can use a grid system which will make your drawing easier and more precise. It will also make positioning a lot easier so everything is proportioned. From here, you can start to draw in the outline of what you are drawing. You can make your own grid by using a ruler if you would like to. Once you have finished the outline for your drawing, you can start to add in details using the grids as well. This will...

How To: Draw an anime eye step by step
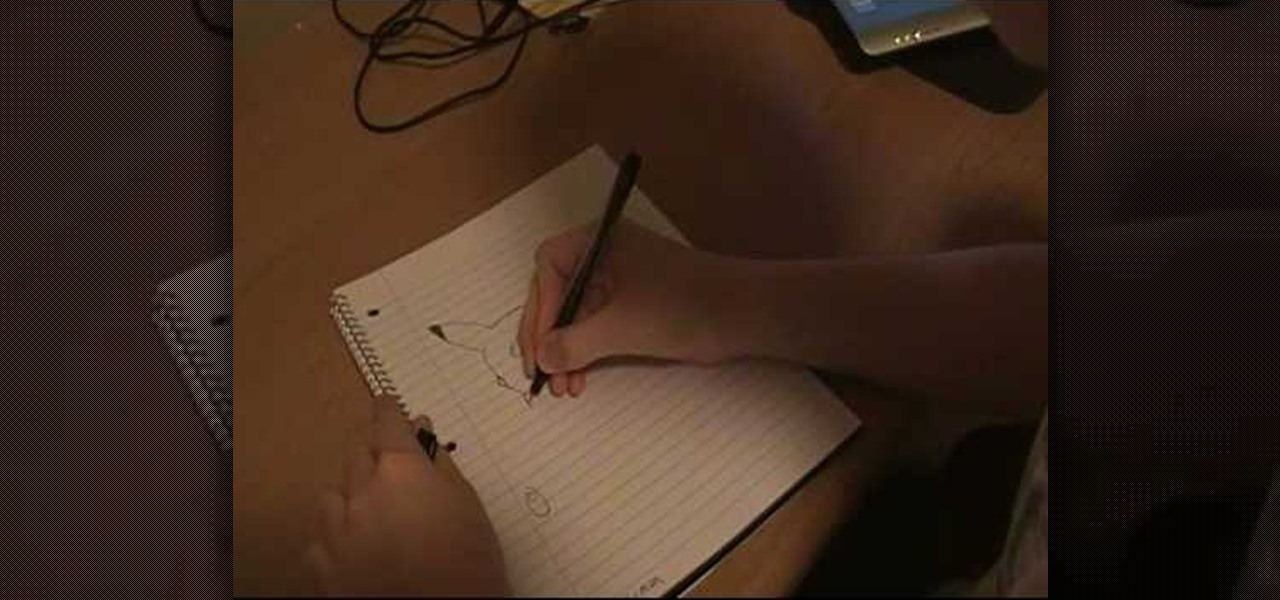
In this video, we learn how to draw an anime eye step by step. Start out by drawing the outline of the eye. Then, fill in the eye with details and create shadows as well. From here, you will add in further details, including the shading and lines that make it look more realistic. Make sure you draw in the creases for the top and the bottom of the eye as well as the lashes on the top and the bottom. Draw in the details on the inner corner of the eye and add a white spot to make the eye appear ...
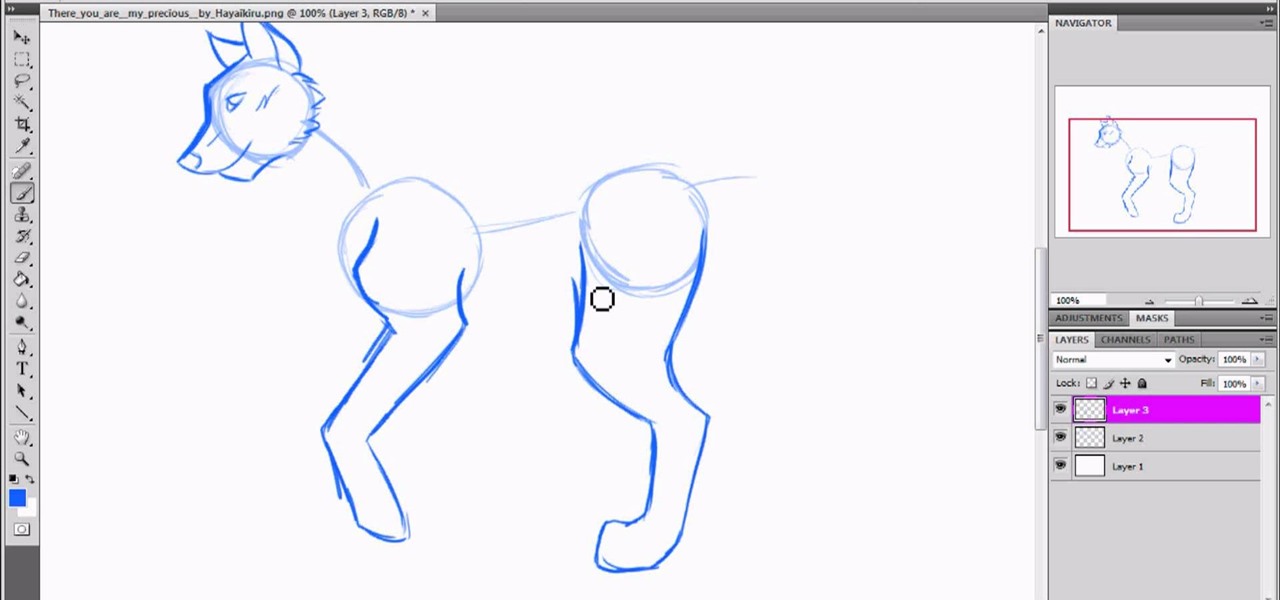
How To: Draw a wolf with basic guide lines
In this tutorial, we learn how to draw a wolf with basic guidelines. First, draw in circles from where the main sections of the wolf is. Now, draw a line connecting all of these and draw in the details of the face. Now, draw the back legs starting with the front leg and then the back leg. After this, draw in the stomach and the main part of the body. Erase the circles and background lines, then draw in the hair of the wolf and the stomach. Create a tail on the back, then add in the ears and t...
How To: Draw super-simple trees
In this tutorial, we learn how to draw super-simple trees. Start out with a pencil and piece of white paper. Draw a straight line for the trunk of the tree. After this, draw the branches coming off of the tree in diagonal lines. From here, draw smaller lines coming off of those to make more branches. Draw in a smaller tree next to the larger one and you will have created a very simple tree! You can add more detail to this by drawing on leaves and grass at the base, but this is the most simple...
How To: Draw Kirby with hair, eyes, and shades
In this tutorial, we learn how to draw Kirby with hair, eyes, and shades. First, draw the outline of the character and add in the basic shapes for the features on the face. Now, draw in the hair on the top of the head and connect it with the rest of the head. Next, draw the bangs around the eyes and shade in the hair on the head to make it look more like the actual character. Use the side of the pencil to get a better shade out of it. Then, shade the body of the character and darken the bangs...

How To: Draw a fairly realistic eye
In this tutorial, we learn how to draw a fairly realistic eye. Start with a pen and draw a wispy line for the eye, like a football shape. Then, you will draw the pupil inside the eyes and the ring around it. Draw in lines around the pupil and the eye to show where the colors and shades of the eye come into play. Then, shade in the entire eye lightly. From here, darken up the upper lash and create a create on the eye. Then, make the eyelid crease on the bottom of the eye and add in the inner c...
How To: Draw a realistic mouth, nose, and eyes
In this video, we learn how to draw a realistic mouth, nose, and eyes. Start out by drawing the outside shape of the eye, then draw in the details inside the eye. After this, shade in the pupil and add a white circle to make the eye look glossy. From here, add in the eyebrows and add darkness and lines to make it look more realistic. For the mouth, you will first draw the outline of the lips, then draw the teeth on the inside followed by additional details. Make the teeth different shapes and...
How To: Draw with basic concepts and techniques
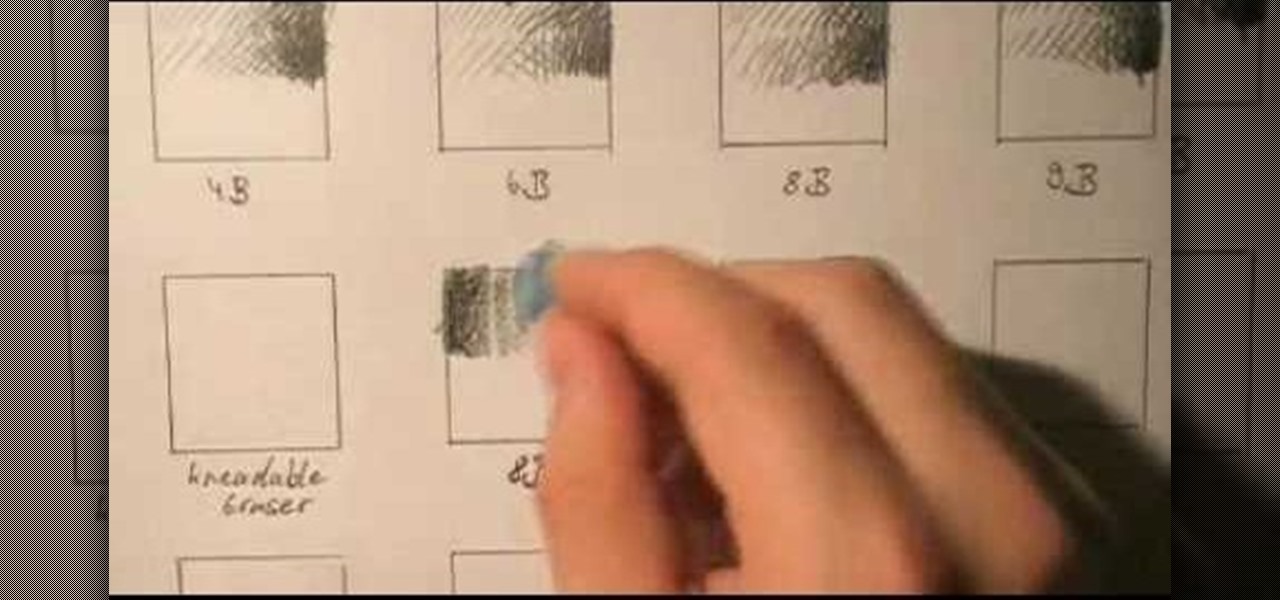
In this video, we learn how to draw with basic concepts and techniques. To shade with different pencils, you will start out by doing a light touch on the pencil and then push down harder to create a darker shade. Use different pencils to get long and wider lines from the shading. A 4B and a 6B pencil will have lines that look the same, but they are different in the way they apply graphite to the paper. Practice using all of your pencils to get an idea of how they write, then you can choose wh...

How To: Draw a realistic portrait
In this tutorial, we learn how to draw a realistic portrait. Using a pencil, you will first draw the out line of the face. After this, add in the details and bold lines to the eye. From here, you will add in the details and shading to the rest of the face. Use your eraser to create smooth lines and white lines to make the features look glossy. Draw in a white line on the bridge of the nose to make it look more realistic. Also make sure to add in lines that are on the face as well as hair that...

How To: Draw realistic lips and teeth
In this tutorial, we learn how to draw realistic lips and teeth. First, draw on your outline for the lips and teeth, using a light pencil. Try your best to get it as natural looking as possible. Now, draw in the shadows and the mid-tones for the lips. Also add in reflective lights and draw in the teeth. Add in details to the teeth and use darker lines to separate them. Use dark creases to form the lips and then continue to add in additional details. When you're finished, darken around the mou...
How To: Draw Pikachu from Pokemon
In this video we learn how to draw Pikachu from Pokemon. First, draw the ears and the top of the head. After this, create the sides of the head and color in the tops of the ears. Draw in circles for the eyes and then draw in the nose, cheeks, and smile. Continue on to draw the rest of the body and the details of the chin of the character. Add in the details for the side of the body and then add in shading and body lines wherever possible. When you are finished, share this with others and be a...
How To: Draw wolf paws
In this tutorial, we learn how to draw wolf paws. First, draw a rectangle on the paper and then draw in curves inside the rectangle that will give you a base for the paw's features. After this, draw two lines coming up from the paw and then draw claws on the bottom of the paw. After this, erase the sides of the rectangles. Start to add in additional lines for the claws on the paws and then add in details for the knuckles. To finish, draw in lines for the hairs and then finish off the paw with...

How To: Draw the iris of an eye
In this video we learn how to draw the iris of an eye. First, draw the outline of the eye and then draw the first layer of crosshatch on the eye. This is just diagonal lines overlapping each other. For the next step get out your 3B or 2B pencil and go over the first layer that you just made matching the tones of your reference image. Then, add in the darkness for the pencil making it completely black. Leave a square on the upper corner of the eye that is white to create a glare. Then, add in ...
How To: Draw a Formula 1 Ferrari F60
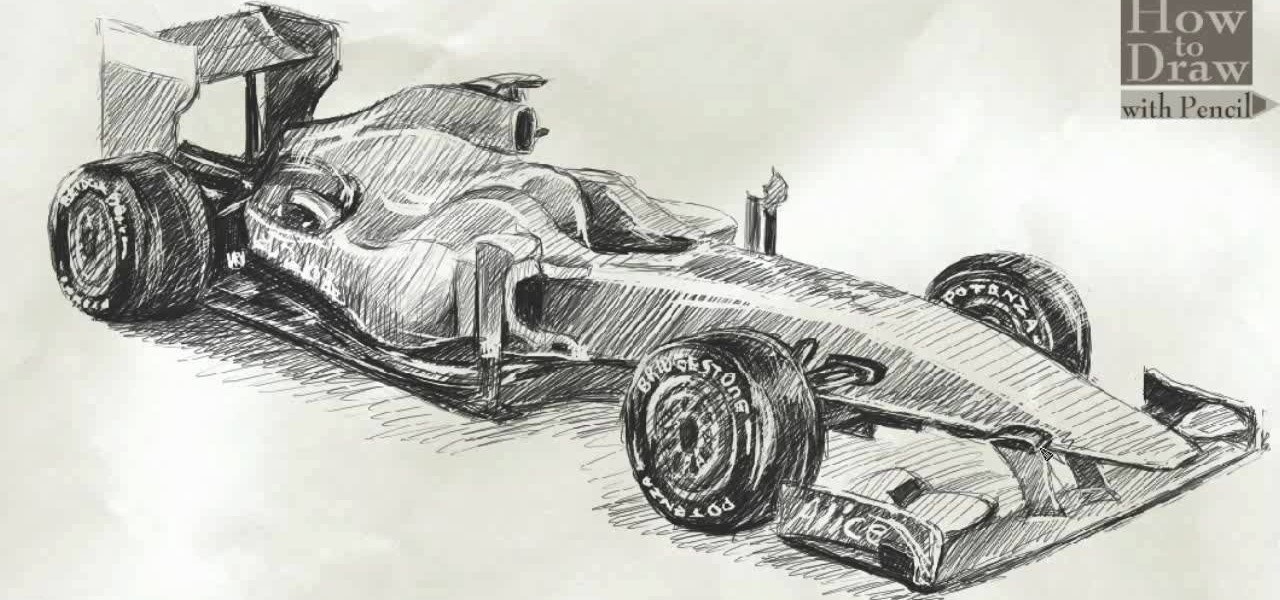
In this video, we learn how to draw a Formula 1 Ferrari F60. Start out by drawing of the car, then start to shade it in. Shade in the wheels and then the rest of the vehicle with a lighter pencil. After this, use the eraser to erase different parts of the car to make it look more realistic. Draw in darker lines with the pencil to make it more shaded. Then, add in shading on the bottom of the car and continue to darken the care until it's completely filled in. Add in writing on the wheels and ...
How To: Draw an expensive 2-door Lamborghini Gallardo sports car
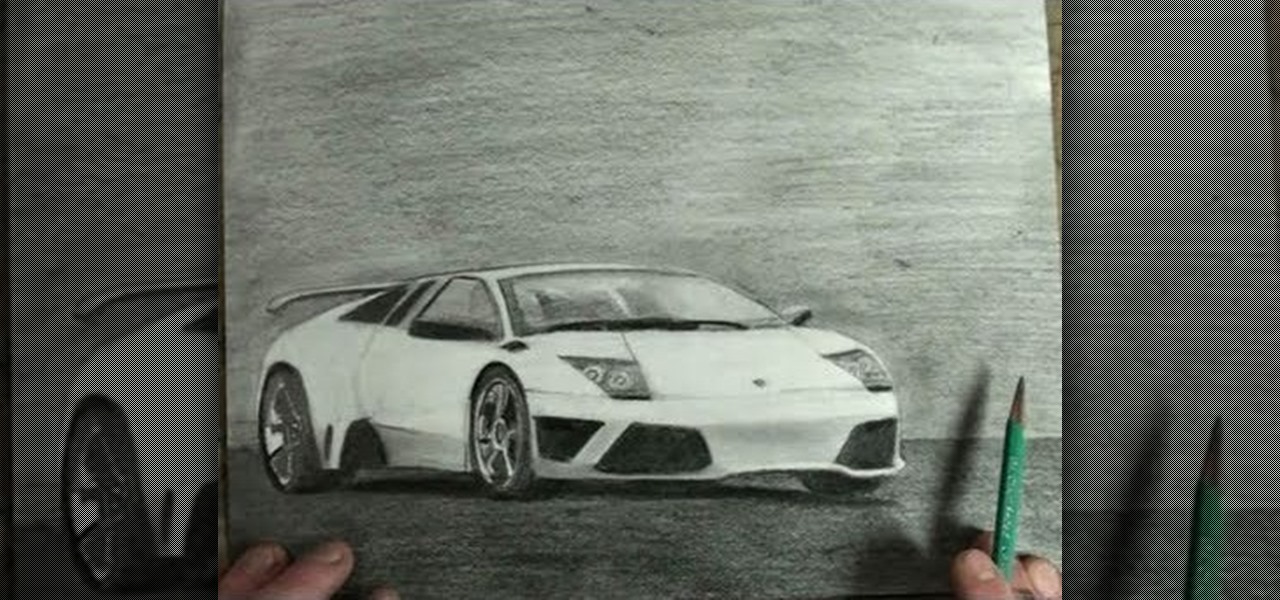
The Lamborghini Gallardo is a sports car that most auto enthusiasts can only dream about, and with its cost at over $200,000, it's literally a "dream car". But you can get one step closer to reality with this realistic and artistic drawing of the Gallardo sports car. Maybe you can sell your masterpiece sketch for $200K and finally get behind the wheels of this 2-doored beast. Follow along with Merrill K to replicate this Lamborghini model on paper. Pause the video when needed.
How To: Create an artistic portrait drawing of Tupac Shakur (aka 2Pac or Makaveli)
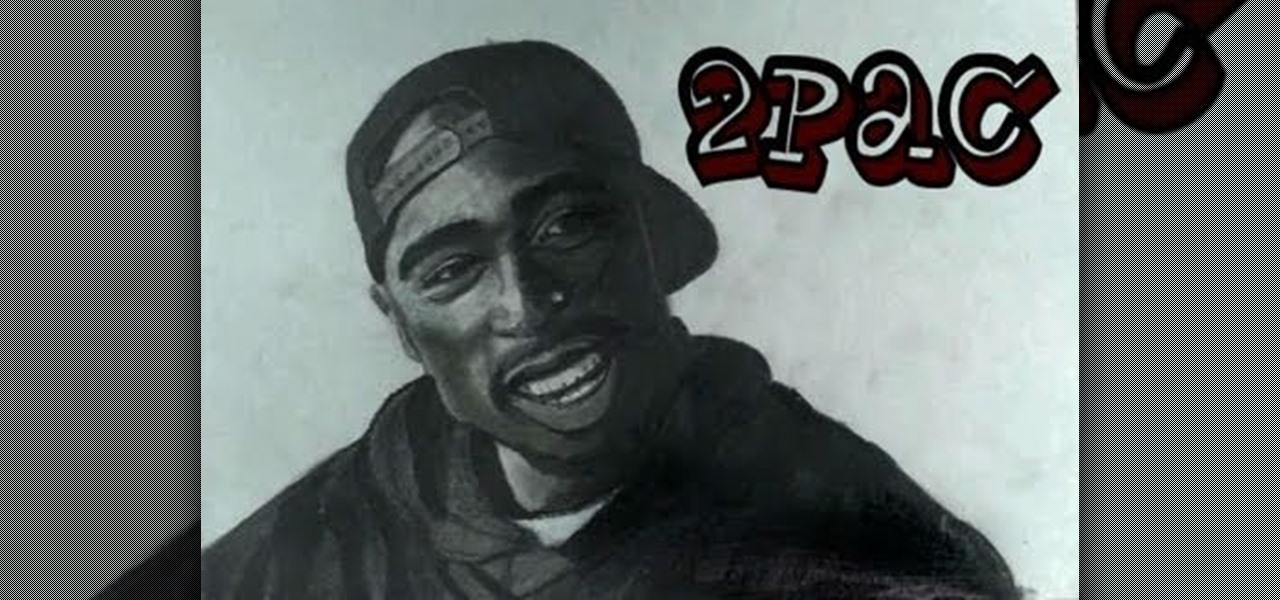
Everyone remembers the day Tupac Shakur sadly passed away at the hands of gunfire, but his memory and music live on, and so does his ruggedly handsome look, which you can recreate in a 2Pac portrait. Merrill K shows you how he draws Makaveli in this drawing tutorial, so grab your art supplies and follow along. Pause the video when needed.
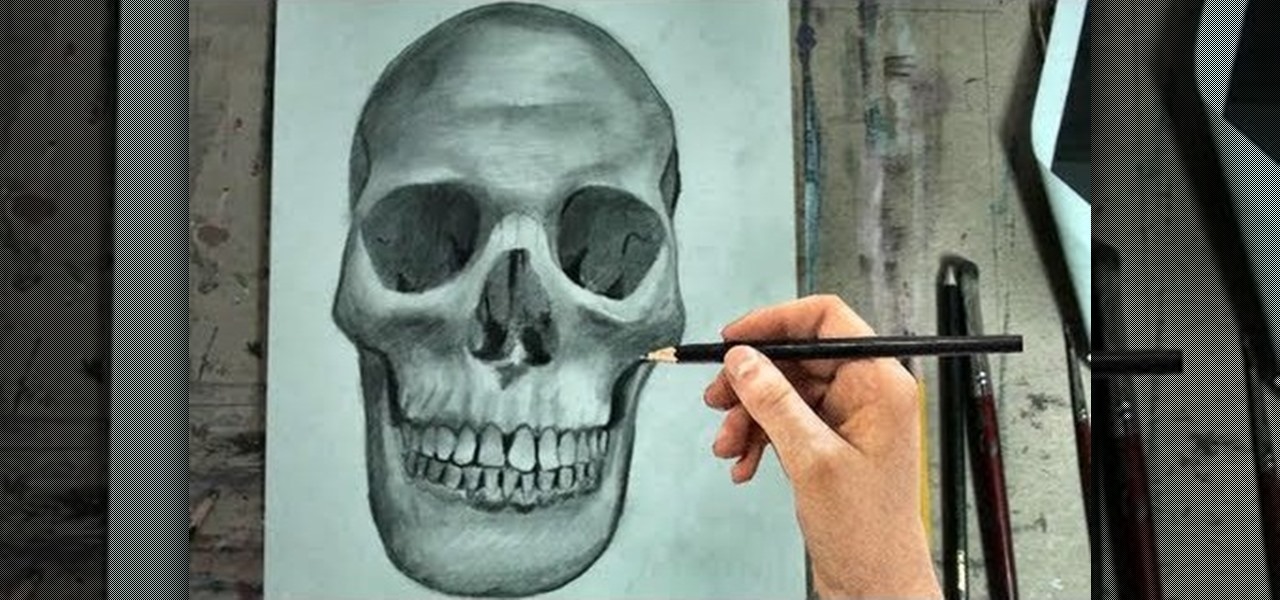
How To: Draw the human skull in frontal view
Halloween is the holiday of goblins, ghouls and witchcraft, and also death. So, what better way to celebrate the spooky season than with a skeleton drawing? More specifically, a human skull? Merrill K has you covered with this drawing tutorial. He'll show you the trick to sketching out a human skull (frontal view) in step-by-step instructions. Make sure to pause the video after each step and look at the screen every few seconds while you are drawing.
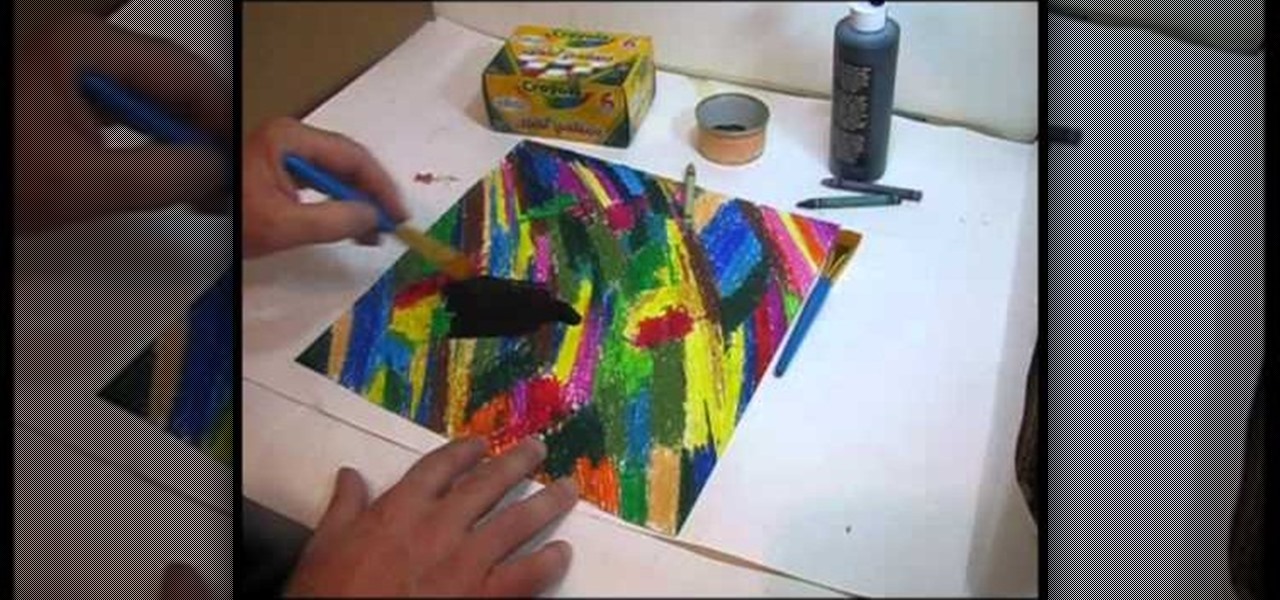
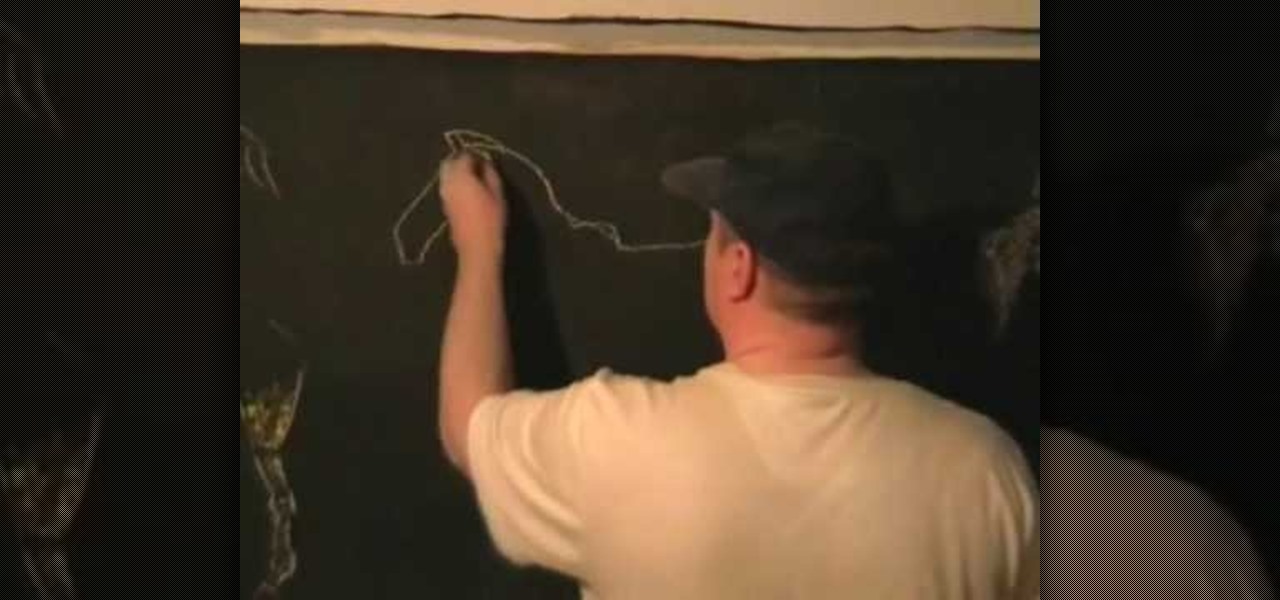
How To: Create a home made scratch drawing board for kids
An entertaining way of inspiring creativity and also doing something far beyond the norm with just coloring on white paper is creating a scratch drawing board. Basically it is initially black, and then when you scratch it with a pen, or other small, pointy object, it creates a multitude of colors as your lines, allowing you to create fantastic images with that much more creativity! In this video you will learn how to create your own scratch drawing board step-by-step!
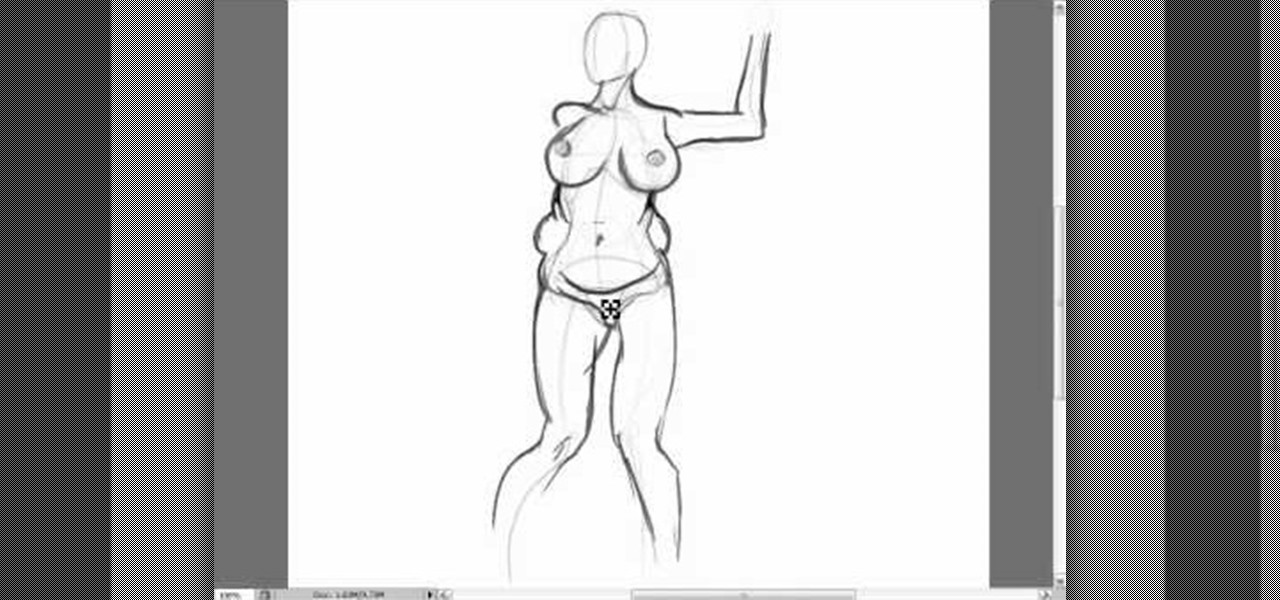
How To: Add curves to drawings of overweight or voluptuous women
Slender women tend to be slender in the same ways, but overweight or curvy women tend to carry their extra weight in different places on the body. This tutorial shows you a few techniques for drawing extra curvy and voluptuous women.

How To: Draw Little Sack Dude from the video game Little Big Planet
In this tutorial, we learn how to draw Little Sack Dude. Start out by drawing the outline of the body for the character. After this, draw on the limbs and then add in the details of the face. Once finished, draw in the details of the clothing, then the hands on the character as well. Draw in additional details along the feet and arms, then shade the entire character with the pencil. Once you do this, darken the eyes with the pencils to make them black and then darken the parts of the details ...

How To: Draw Orochimaru from Naruto
In this tutorial, we learn how to draw Orochimaru. Start with drawing a circle for the head, then draw lines crossing the circle to use as a measurement of where the features of the face will be. After this, draw in the eyes, nose, nostrils, mouth, and eyebrows. Next, draw in the neck and the shoulders for the body. Once finished with this, draw in the hair surrounding the face, then erase the back lines from the drawing because you won't need them any longer. To finish, add in details to the...
How To: Draw manga bodies
In this tutorial, we learn how to draw manga bodies. Start out by drawing circles for the body. These circles will start at the head, then go to the shoulders, arms, stomach, hips, knees, and ankles. After you do this, draw lines to connect them all together and make out the basic shape of the body. Now star to use a bolder line to create the realistic outline of the body. When you're finished with this, you will be able to do the fun part. You can fill in these spaces with color and lines to...

How To: Draw Sango and Kilala characters from InuYasha
In this tutorial, we learn how to draw Sango and Kilala. Start out by drawing a circle and reference lines for the head, then draw a stick for the body and draw a half circle going off the bottom of the page. Then, draw circles on the upper body to create the hands and draw fingers coming off of those. Now, draw in the neck and the clothing that is on the character. Erase the background lines, then all in the features of the face and the hair around the head. Also make sure to draw on the ear...

How To: Draw Electivire from Pokemon
In this tutorial, we learn how to draw Electivire from PokŽmon. Start out with a very sharp pencil and lightly draw the outline of the body of the character. After this, use a firmer hand to draw a darker line on the outline of the body, then start to add in details of the face and the rest of the character. Next, draw the details on the body to give it more of a personality and make it look more realistic. Continue to draw on the rest of the body parts, using lines and shading where appropri...

How To: Draw Karin from Naruto
In this video, we learn how to draw Karin. First, start drawing a circle and then add the eye line to help you place the eye. After this, draw in a triangle at the bottom of the circle as a reference to where the chin will go. Then, draw in a line for the body, then circles for the body and shoulders. After this, draw in the neck and then draw the rest of the body. Now, draw in the hair and the details of the face. Once you have finished this, erase the background lines from the face and then...

How To: Draw Tenten from Naruto
In this tutorial, we learn how to draw Tenten. To start this character, draw a light circle along with lines in the middle for reference points. Use a bolder line to draw the chin and then the eyes, nose, and mouth. also make sure to draw in slight eyelashes and eyebrows above the eyes. After this, draw a line around the head and erase the background lines. Draw ears on the top and then start to fill in the hair for the bangs on the front of the face. Finish this off with a headbands, then dr...
How To: Draw a horse step-by-step
In this tutorial, we learn how to draw a horse step-by-step. First, you will want to draw the face of the horse. You can use intersecting lines in the face so you place the features of the face equally apart. After this, draw the outline for the body of the horse. Once you have this perfected, you can start to add in the hair for the horse. Next, draw in the details of the body and draw the shoes on the bottom of the horses feet. Draw in the tail, then add in shading and other lines to make i...